7 Common Problems with Layering Anterior Composites and How to Fix Them
Author’s note: Read “Basics of Layering Composites in the Esthetic Zone” first if you don’t already understand the basics in composite layering.
When I first implemented layered anterior composites into my practice, I frequently finished a case and thought, “Oh gawd, this looks terrible.” It took me a while to realize why my restorations were not turning out like I had planned. As I practiced, I noticed a few common themes with my technique and eventually learned to correct my mistakes.
In this article, I share the lessons I learned in the hope of saving you a lot of time and heartache. I’ve found that layering anterior composites makes me happy. And isn’t life just better when your schedule is stacked with procedures that make you happy?
From choosing the wrong shade to trying to get too fancy, let’s review the most common reasons anterior composites don’t turn out quite right, what happened clinically, and how to fix them. The best part is you don’t have to start over completely.
Problem #1: There’s a Visible Line
Problem: The dentin layer did not mask the junction between the tooth structure and the restorative material.
Solution: Cut back the facial part of the restoration, ensuring the dentin layer extends over the bevel.
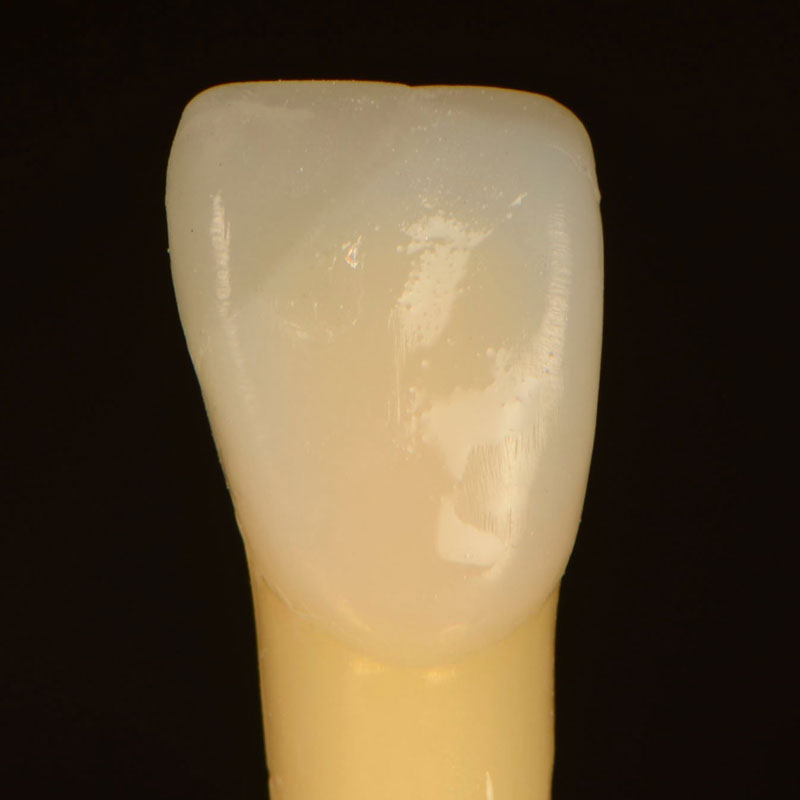
It can be hard to mask the junction if the bevel isn’t large enough. Use a large diamond to cut the restoration back until you can see the initial fracture. Leave the incisal/facial line angle intact so you don’t have to redo it (also read “Fixing Anterior Composites Without Redoing Everything”).
Leave the lingual portion of the restoration so there is some material to stack composite on top of. Etch and bond as usual, and make a larger bevel where the natural tooth ends. Feather the dentin over the bevel, ensuring enough space for the enamel layer(s). At this point, there should be no visible line. If you see a line at this step, you can be sure you’ll see a line in the final restoration.
Problem #2: It’s Too Opaque
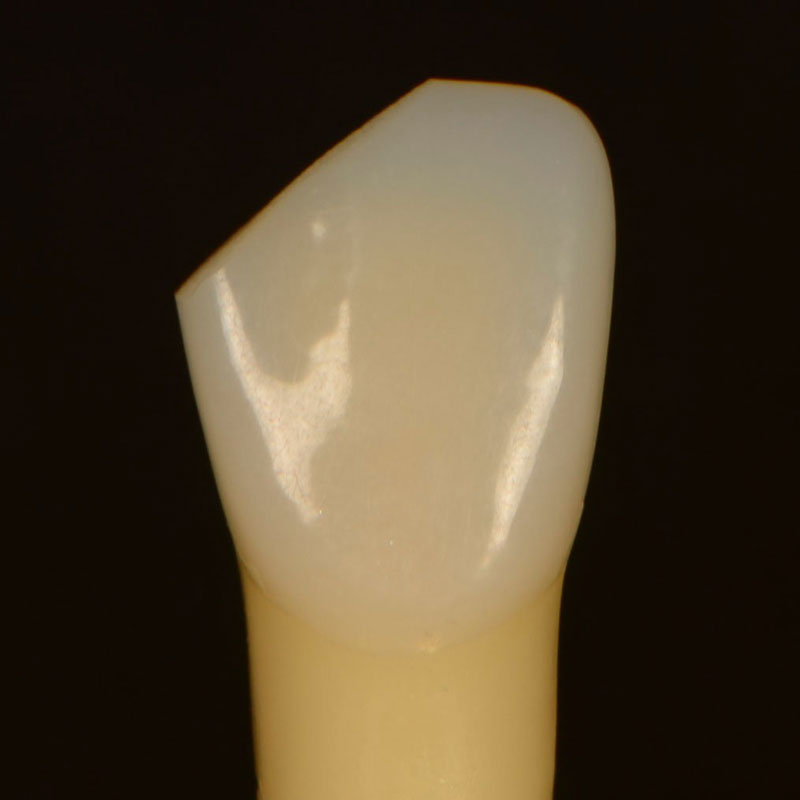
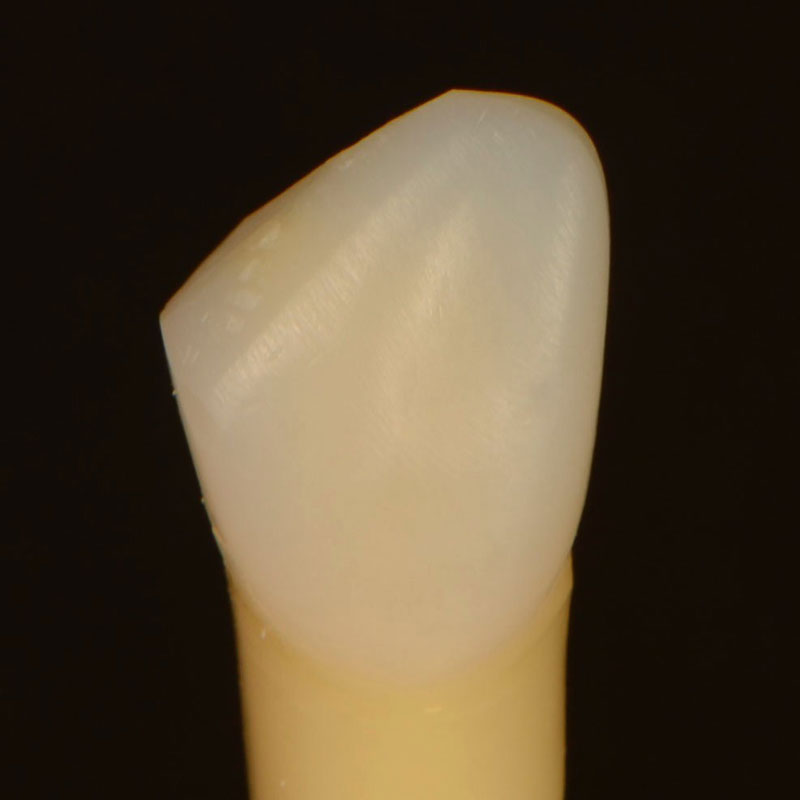
Problem: The dentin layer was too thick.
Solution: Cut back, making sure there is enough space for enamel.
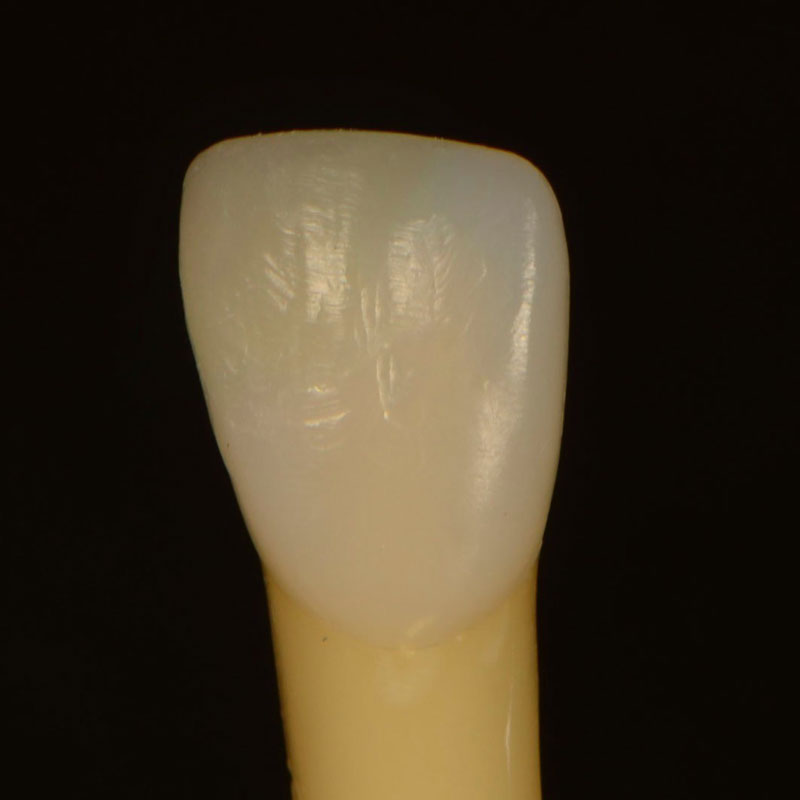
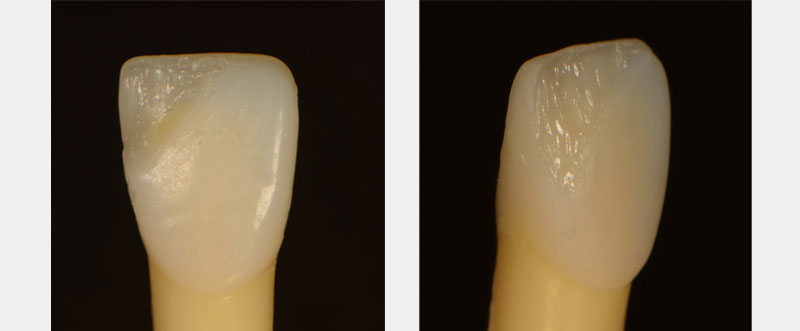
You layered your dentin too thickly, then added the enamel layer. When you finished and polished the restoration, you cut off the entire enamel layer and left only the dentin layer. In other words, the final restoration is as if you restored with only one big hunk of dentin.
Don’t fret — you’ll probably do this a few times before it hits home completely. If your restoration looks too flat, too fake, or too dark, this is probably the issue. Use a large diamond to prep like a veneer, but leave the incisal/facial line angle intact. Etch, bond, and place the enamel layer over the top, then finish and polish.
Problem #3: It’s Too Dark
Problem: The dentin shade was too dark.
Solution: Cut back and choose a lighter dentin shade.
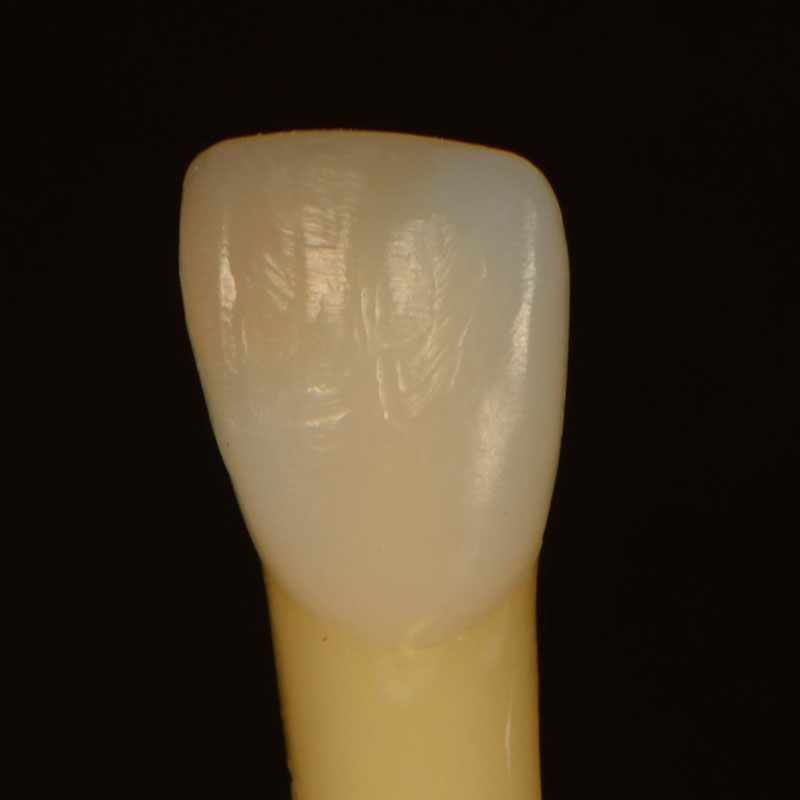
We tend to choose a shade that is too dark when trying to match the dentin because we get caught up in the fact that the dentin differs from the surface enamel. Err on the side of too light with the dentin shade and then, if needed, bring up the value with the enamel layer. For example, if the tooth’s Vita shade is A3, pick A2 dentin and add A3 enamel.
Problem #4: Too Much or Too Little Characterization
Problem: The adjacent teeth have changed since you started the procedure.
Solution: Trust the pre-op photos and wait 72 hours before evaluating. Cut back if needed, adjust accordingly.
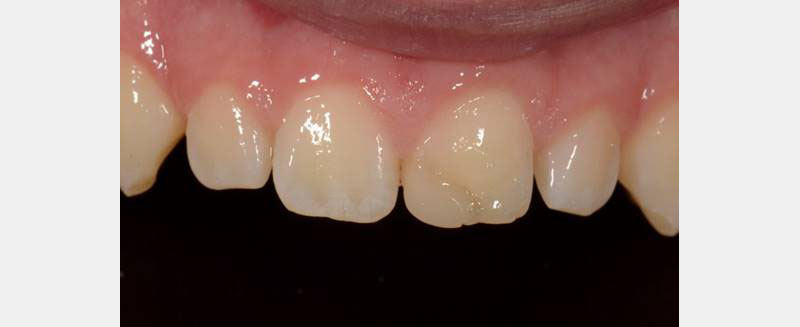
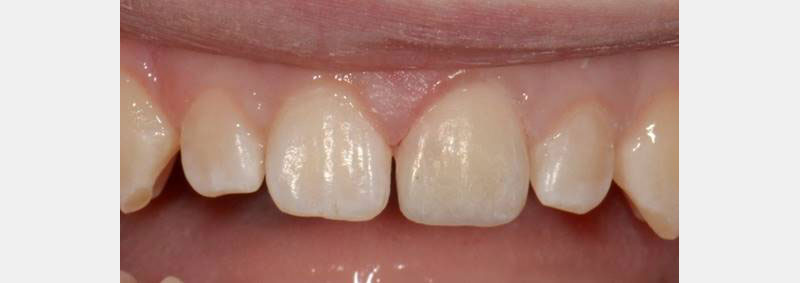
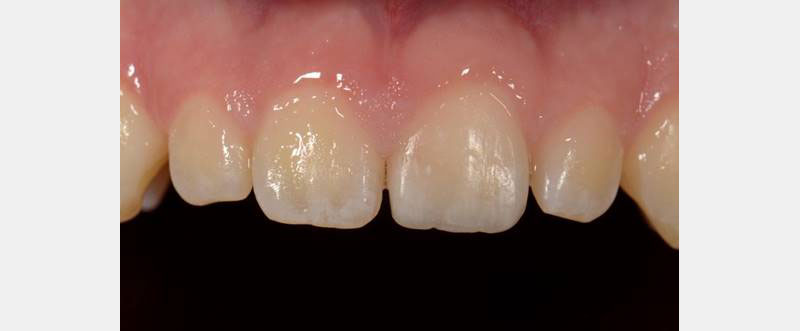
Maybe you went a little nuts adding the fancy tints. This is easy to do because, as you’ve been working, the adjacent teeth have been dehydrating, making their white spots more visible. Use pre-op photos for reference. Allow 72 hours for the natural teeth to rehydrate before deciding if you love or hate them.
Before starting the procedure, always caution patients that this will happen. Let them know it may be a day or two before their restoration blends in with the natural teeth. Invite them in one week for a final polish and shade check and to take photos.
Problem #5: It Still Looks Fake
Problem: Inadequate surface texture or polish. Light is hitting the restoration in a way that makes it look artificial.
Solution: Focus on the line angles and texture so light hits the restoration in a way that it looks natural.
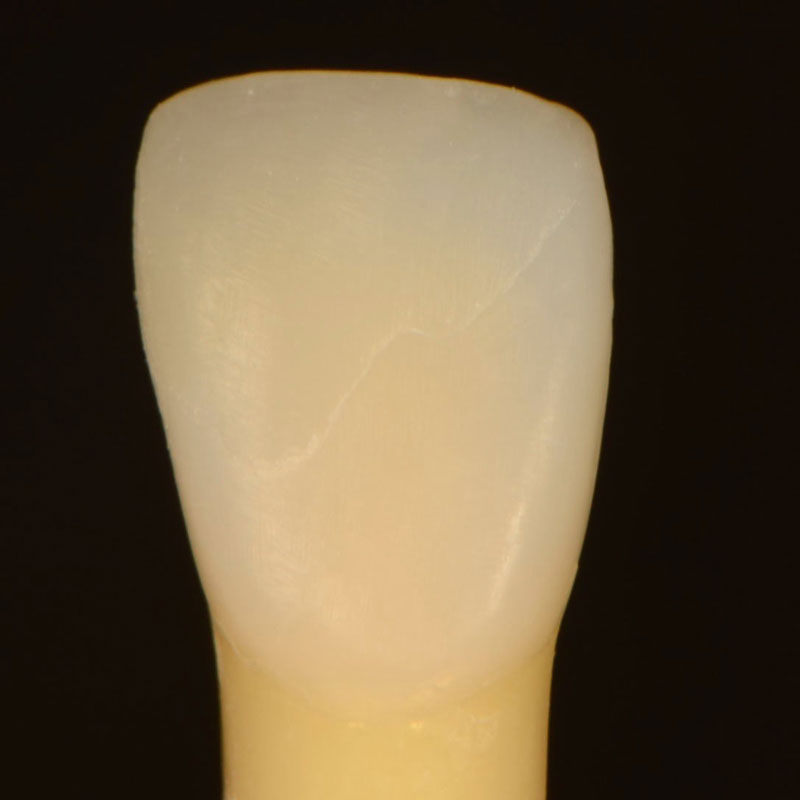
Restorations need to reflect light, just like natural teeth. Drawing line angles with a pencil can help visualize primary anatomy. Glitter powder can help visualize the surface texture so you can clearly see where the light is hitting the restoration.
Try not to get frustrated. The first time you polish like this it may take an hour or two to get it just right (this is why I like to learn these skills at Spear Workshops so I don’t leave my patients suffering in the chair). Invest in a composite polishing kit.
Problem #6: Too Grey
Problem: You tried to get too fancy with your translucency.
Solution: Cut back (facially or lingually) and add some dentin-shaded composite.
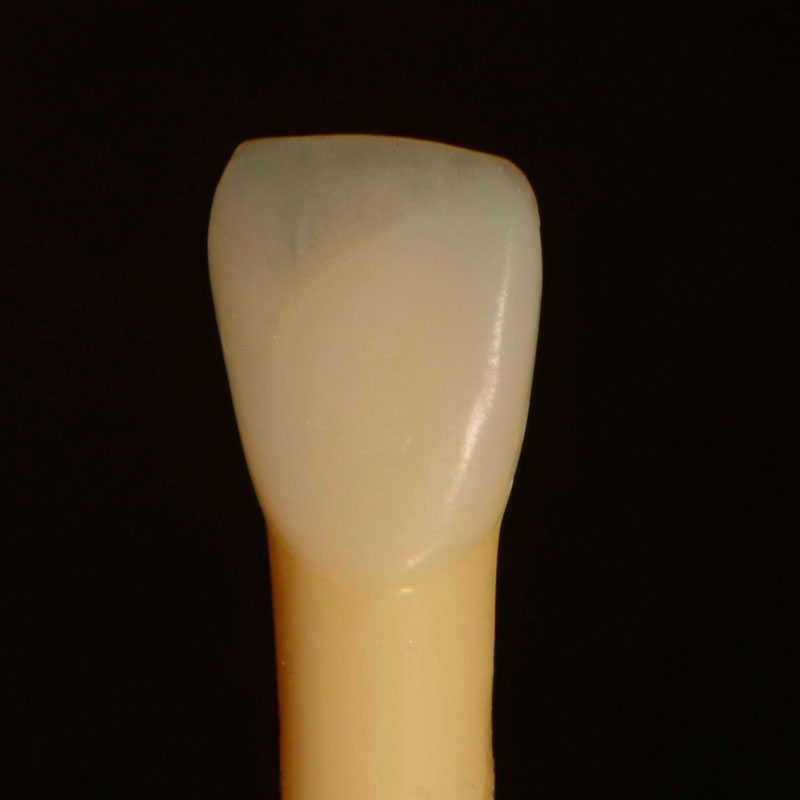
The mouth is a big, dark hole! If you add too much translucent composite, the restoration will appear too grey. If the facial anatomy is where you want it to be, remove 0.5-1.0 mm of composite from the lingual and place a more opaque/brighter dentin-shaded composite. You can also cut back and add from the facial as described earlier.
Problem #7: There’s a %@#! Void
Problem: A bubble was incorporated into the composite, or you scratched the surface while polishing.
Solution: Use a round bur to prep as deep as the void. Etch, bond, and add your final layer of composite.
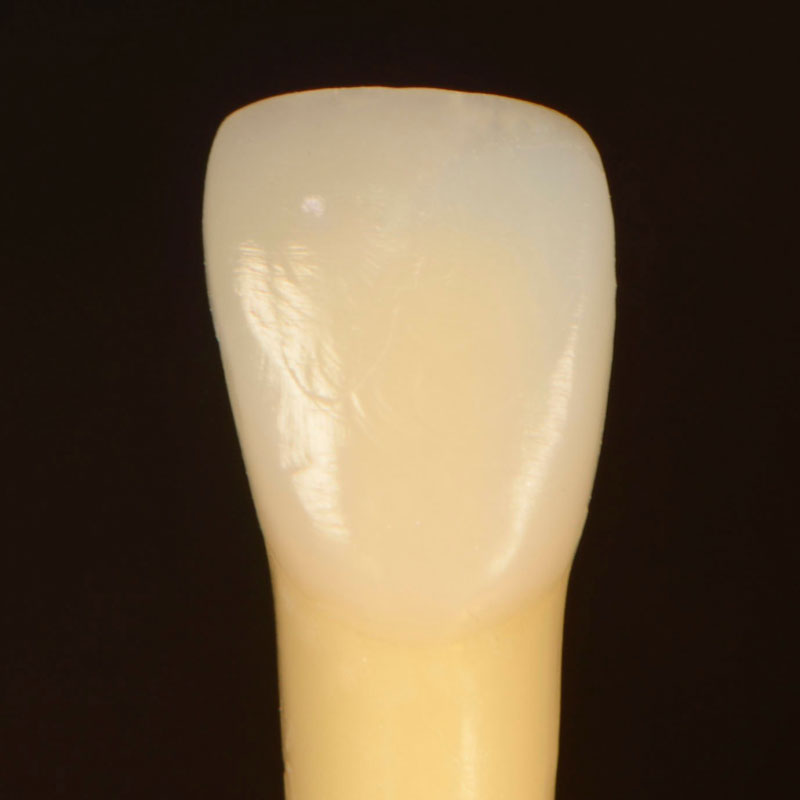
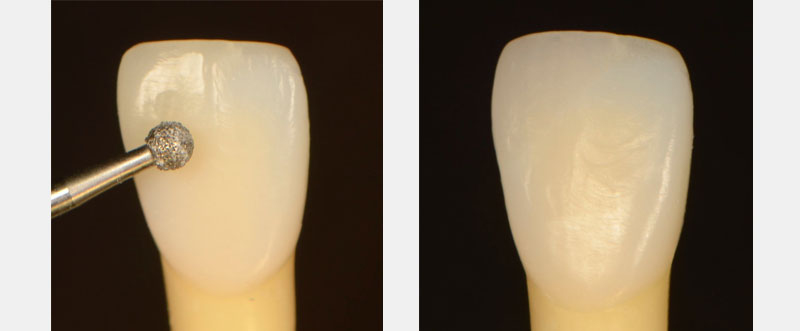
You can waste a lot of time trying to polish out a void, and if you get to the bottom of the void, your restoration usually looks funny. Save yourself some time by simply removing the void and bonding over it.
Layering composite in the esthetic zone is an advanced clinical skill that takes practice. Take it easy on yourself and try to have fun learning from your mistakes. Hope this helps.
SPEAR ONLINE
Team Training to Empower Every Role
Spear Online encourages team alignment with role-specific CE video lessons and other resources that enable office managers, assistants and everyone in your practice to understand how they contribute to better patient care.

By: Dawn Wehking
Date: September 16, 2020
Featured Digest articles
Insights and advice from Spear Faculty and industry experts


