Fixing Anterior Composites Without Redoing Everything
By Dawn Wehking on December 4, 2019 | commentsYou layered. You polished. It looks terrible! Your next patient arrives in 20 minutes and your hygienist is going to be ready for a check any minute.
“Oh, s--t,” you think. “I don’t have time to re-do the whole thing. What do I do now?”
Maybe you chose the wrong shade. Maybe you added too much translucency. Maybe you went a little nuts adding tints and now your patient looks worse than when they came in.
Don’t worry! Follow these steps to fix your mistake quickly without re-doing the whole thing.
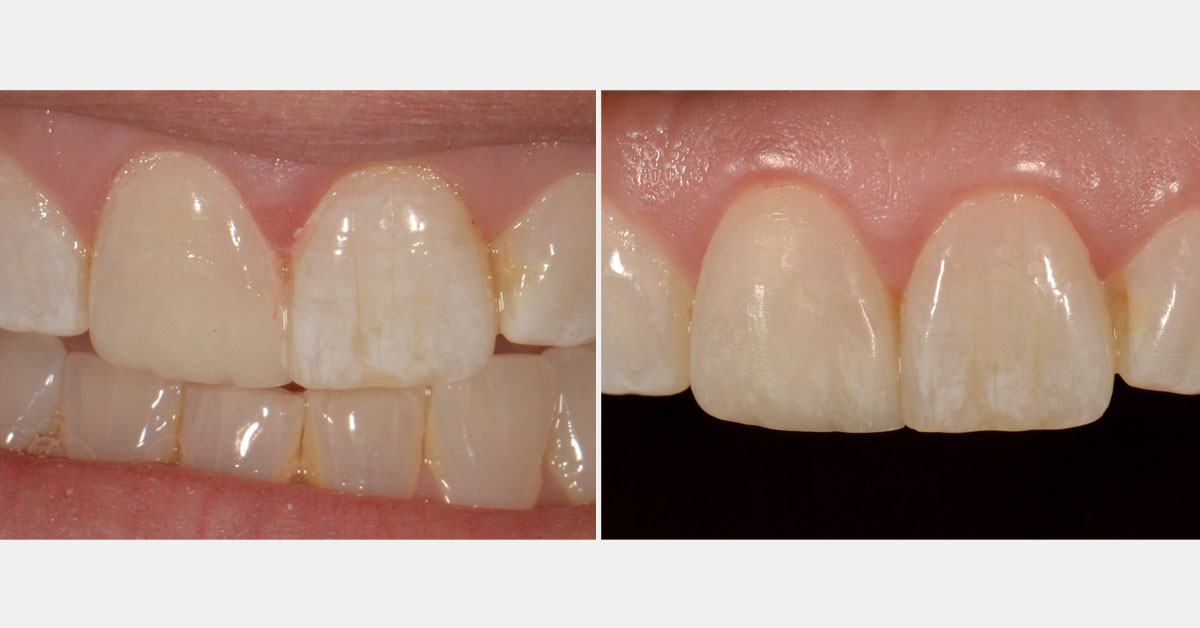
- 1 – Using a large chamfer diamond, cut the restoration back. Think of this almost as a reverse veneer prep, turning your bur around and placing the round end of the diamond into the incisal edge. Prep away the facial 0.5-1mm of the composite, leaving the incisal/facial line angle intact and leaving the lingual portion of the restoration so that you have some material to stack composite on top of.

- 2 – If you’re correcting a class IV restoration, cut the restoration back until you can see the initial fracture. Make sure that your bevel extends 2-3mm beyond the fracture line of the natural tooth.
- 3 – Microetch (sandblast), etch, bond and re-layer. For microetching, I like the Etchmaster from Groman Dental. It’s still messy but it's about half as messy as most sandblasters. Etching doesn’t affect the surface of the composite but it does help to clean it.

Timing is important. You have 14 days from the initial placement of the composite before the bond strength to composite is significantly affected. The amount of remaining active free radicals that are available is the most important factor, not the presence of an air-inhibited layer.
You can successfully repair your composite within two weeks because in that amount of time there are enough free radicals remaining. In other words, with time, the amount of remaining free radicals is diminishing – making the chance for bonding to the existing composite smaller.
If it’s been more than 14 days, you should really remove the entire composite and start over. (See “Effect of Oxygen Inhibition on Composite Repair Bond Strength Over Time,” Dall'Oca S, Papacchini F, et al. J Bio Mater Res 2007 81B(2): 493-498.)
Since you’ve already done the hard part, removing the facial layer and fixing it should only take you about 15-30 minutes once you’ve practiced a few times.
Don’t let your patient walk out the door with an ugly restoration. Take a few minutes to show them what you can do (or bring them back within two weeks to fix it). And have fun!
Dawn Wehking, D.D.S., M.A.G.D., is a member of Spear Visiting Faculty and a contributor to Spear Digest.