Using a Laser for Implant Uncovery
Traditionally, uncovery of dental implants utilizes a scalpel blade or tissue punch to incise through the soft tissue, which exposes the cover screw of the implant. Unfortunately, this traditional technique can cause post-operative discomfort and bleeding.
One alternative to using a scalpel for uncovery includes electrosurgery, which decreases post-operative discomfort and bleeding by cauterizing tissue. However, it can potentially elevate the temperature around the implant, resulting in bone loss.
Another option for uncovery is laser, which is used for procedures such as soft-tissue crown lengthening, troughing, gingivectomy, and esthetic recontouring. The laser is ideal for implant uncovery and tissue modification around implants because there is little to no bleeding, and it reduces post-op pain.
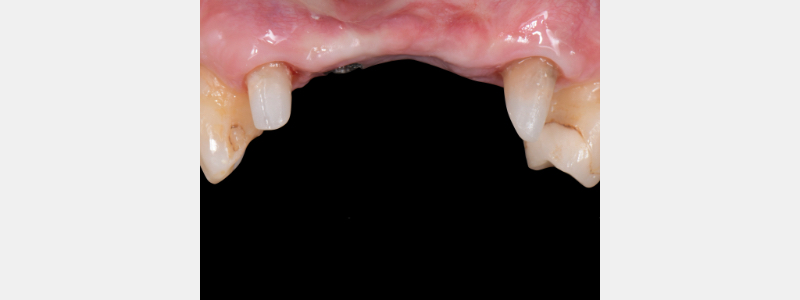
This step-by-step visual essay shows how to use a laser for implant uncovery.

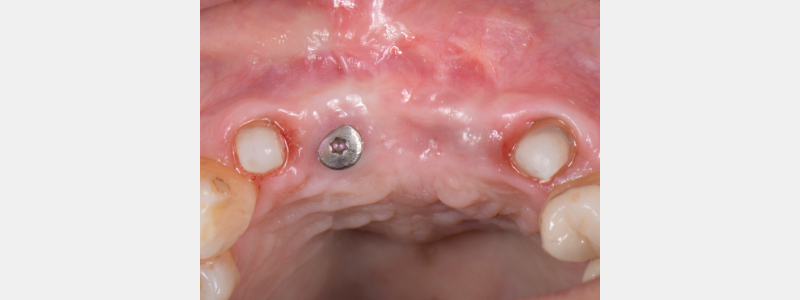
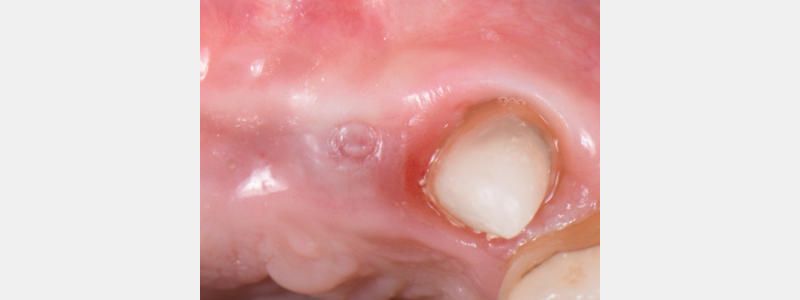
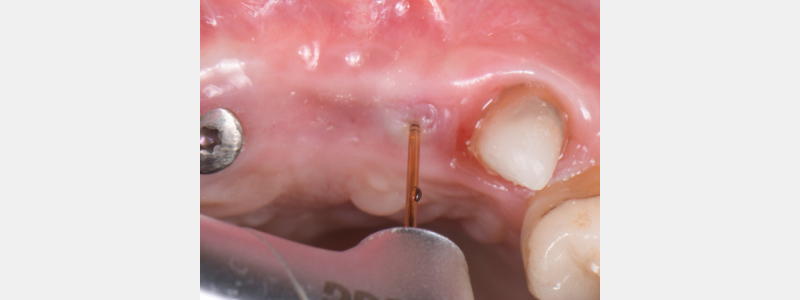
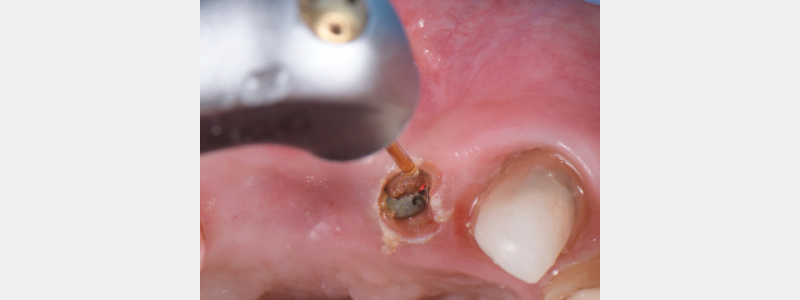
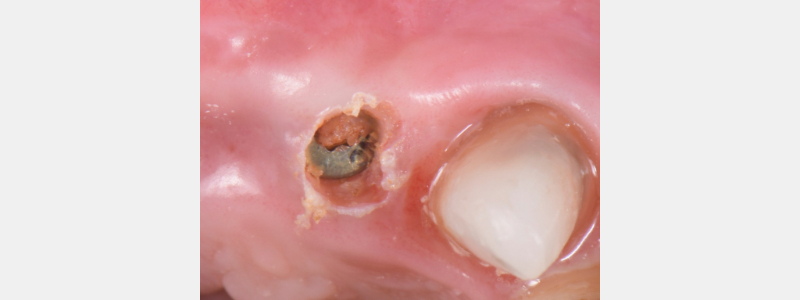
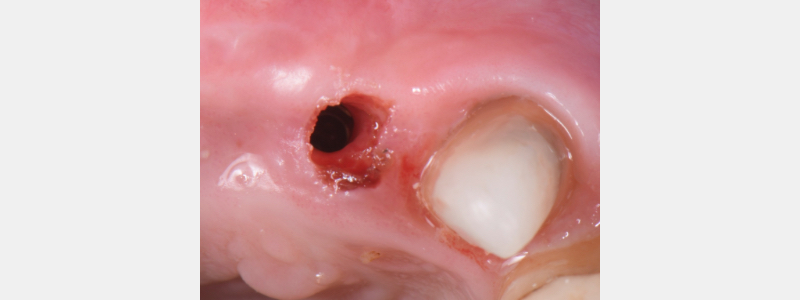
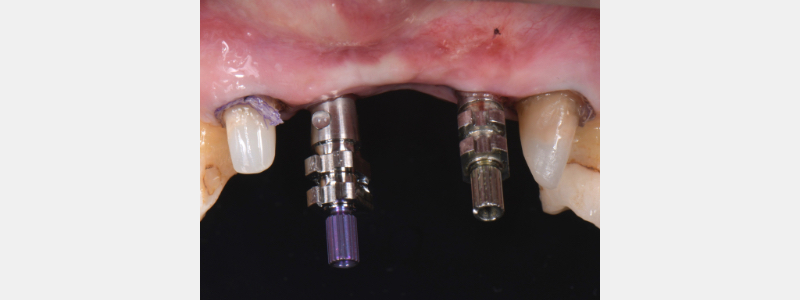
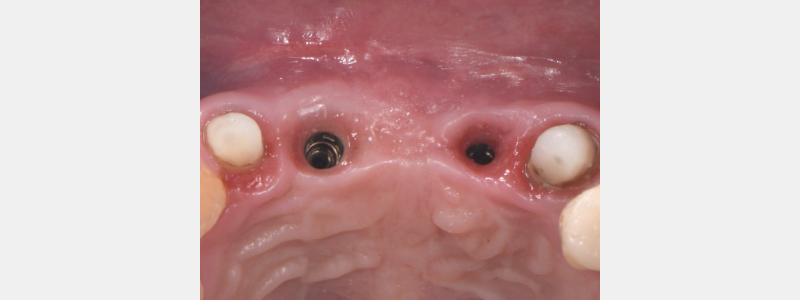
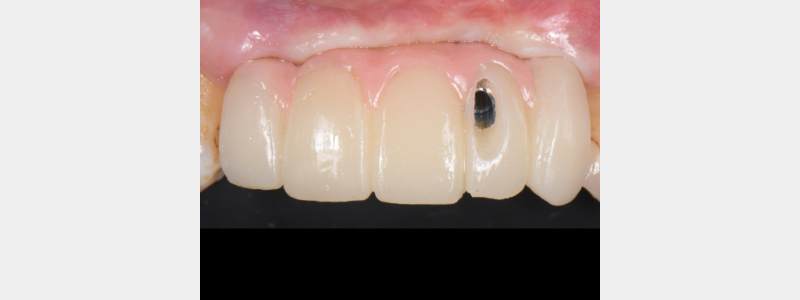
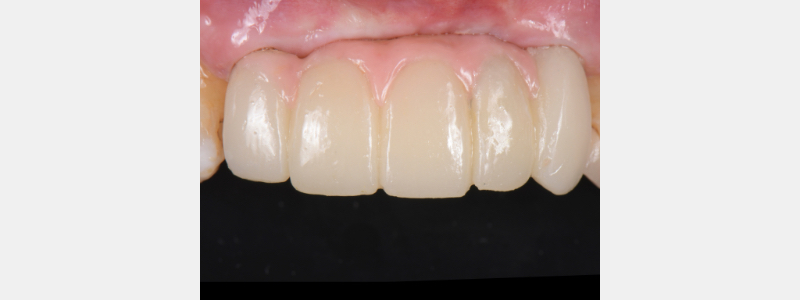
This is a simple, step-by-step technique for using the laser for implant uncover. An advantage to using a laser is that the impression can be made immediately after the uncovery, and post-operative discomfort and bleeding are minimized.
SPEAR campus
Hands-On Learning in Spear Workshops
With enhanced safety and sterilization measures in place, the Spear Campus is now reopened for hands-on clinical CE workshops. As you consider a trip to Scottsdale, please visit our campus page for more details, including information on instructors, CE curricula and dates that will work for your schedule.

By: Ricardo Mitrani
Date: February 8, 2021
Featured Digest articles
Insights and advice from Spear Faculty and industry experts
