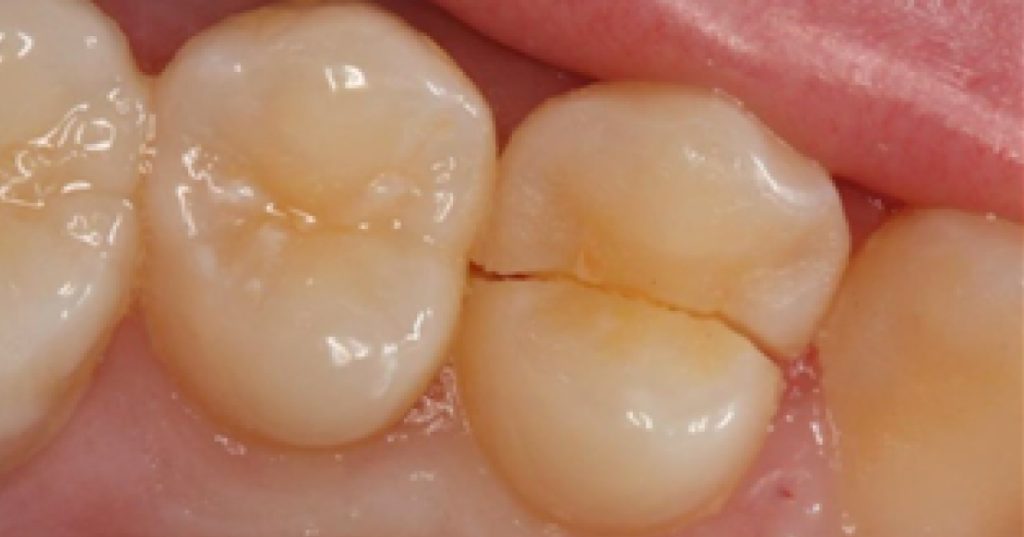
Closing the Class II Restoration Box, Part 3: Restoring the Proximal Box
In the first two articles of this series, we first examined the common problems of closing the Class II box, and then looked at specific techniques for managing direct resin. At the end of that second article, I introduced the concept of the centripetal technique, whereby, after bonding, the proximal box is built, converting the Class II into a Class I restoration. The Class I portion is then restored on a cusp-by-cusp basis.
As I wrote in that article, “the proximal box is divided into two portions, or increments: a gingival portion from the gingival margin to the level of the occlusal isthmus and an occlusal portion from the gingival portion to the maximum height of the marginal ridge.”
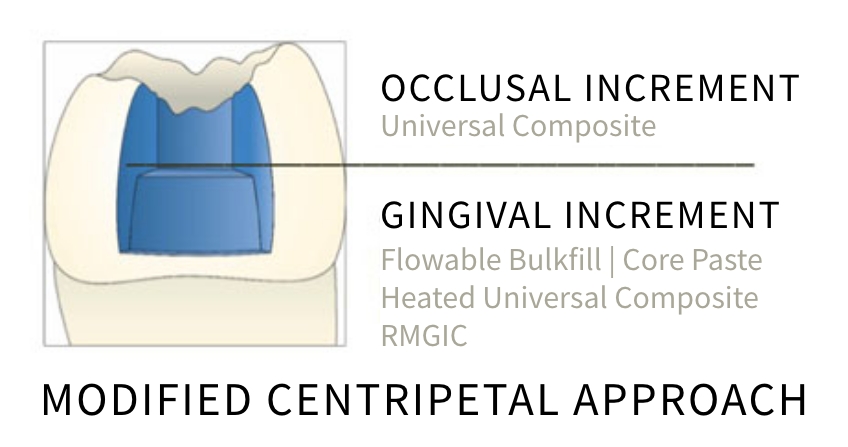
In this final article in the series, we are going to walk through the main processes and strategies that make up the centripetal technique, starting with the gingival increment.
Three Strategies for Restoration of the Gingival Increment
When approaching the gingival portion of the proximal box, there are three common strategies.
Strategy 1: Heated Conventional Paste Composite Resin and Pulse Activation
Heating composite resin in a proprietary warmer (e.g., AdDent CalsetTM) results in a less viscous mass of resin. The outcome is superior adaptation of the resin within the cavity, resulting in fewer voids1.
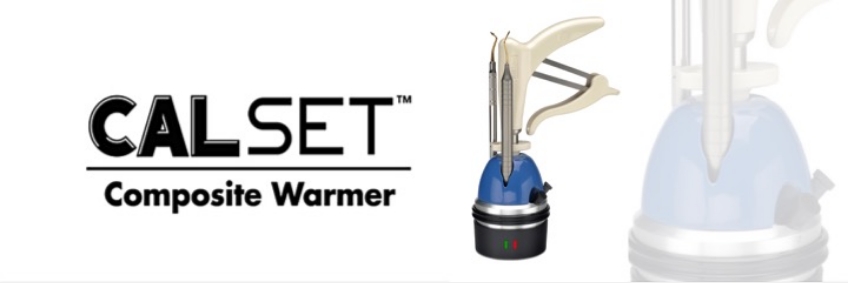
Further, Wagner2 demonstrated significantly reduced marginal leakage on dentin gingival box floors when heated resin was employed. Heating the resin also increases the degree of monomer conversion3. This is because the resin expands when heated so that there is an increased volume for the same mass. This means there is more space to allow increased conversion of the resin molecules.
Increased polymerization improves mechanical properties such as elastic modulus (stiffness) and flexural strength. This is advantageous in a Class II situation since loss of a proximal marginal ridge results in a 46% reduction in stiffness compared with an intact tooth4. Loss of stiffness causes increased cusp deflection under load (when occluding), which increases the risk of cusp fracture.
Using conventional paste composite also improves esthetics over flowable and bulk fills in obvious areas — for example, the mesial of upper premolars.
Remember, however, that paste composites generate high stresses in the proximal box due to their high modulus within a high C-Factor cavity. This is exacerbated by heating the composite resin.
The solution to this problem is to “pulse activate” the composite5. In this approach, the resin is light activated for only one to three seconds (dependent on the output of the light). This results in a prolonged gel state and a slower rate of polymerisation. This means that the modulus of the composite resin increases at a slower rate and less stress is generated. After two minutes the composite resin is further light-activated to manufacturer’s instructions.
I prefer this approach for structurally compromised teeth in the esthetic zone.
Strategy 2: Resin Modified Glass Ionomer (RMGI)
Resin modified glass ionomer (RMGI) offers an alternative to composite resin for restoration of the gingival half of the Class 2 proximal box.
In the classic “open sandwich” approach, the dentin is conditioned prior to placing the resin modified glass ionomer cement (RMGIC); the cavity is then etched with 37% phosphoric acid prior to placement of composite resin. I use an alternate approach whereby the dentin is etched, primed, and a dentin adhesive placed prior to placement of RMGIC. The RMGIC is condensed with a microbrush wetted with dentin adhesive. The composite resin is then placed without the need for further etching6. The RMGIC will bond to the hybridized dentin and the composite resin will micromechanically link to the RMGIC7. This approach eliminates the need to etch the immature RMGIC, which results in matrix weakening8. Further, etching RMGIC has been shown to remove the oxygen inhibited layer, decreasing the bond to composite9.
The advantages of using RMGIC for the gingival increment include:
- Simple to mix and place (especially in difficult-to-access areas).
- Low solubility.
- Favorable modulus of elasticity and coefficient of thermal expansion (CTE) like dentin10. The low modulus of elasticity attenuates shrinkage stress from the subsequently placed higher modulus composites in addition to reducing cuspal deformation due to polymerisation shrinkage11.
I prefer this approach for deep, difficult-to-access proximal boxes.

Strategy 3: Flowable Bulk Fills
The disadvantage of conventional photocurable paste composite resins is that the interface between the filler particles and the resin matrix causes light scattering, restricting light penetration into areas deeper than 2.0 mm. This means they must be incrementally placed, resulting in a complex, technique-sensitive procedure.
Bulk fill resins are now marketed to streamline this procedure, allowing increased layer sections of 4-6.0 mm. This has been achieved by numerous modifications to the composite, including:
- Lower filler volume and larger filler particles (therefore smaller surface area). This results in less light scattering and improved light transmission.
- More closely matched refractive indices of fillers and unpolymerized resin monomers improve light transmission.
- More highly reactive photo-initiators.
- Reduced pigments.
Shrinkage stress is reduced by incorporating higher molecular weight monomers.
Bulk-filled composite resins are classified as either high-viscosity (sculptable and packable) or low-viscosity (flowable). Remember, however, that some low-viscosity bulk fills have similar filler loads to high-viscosity materials and vice versa. Therefore, their properties are highly brand-specific. My preference is for low-viscosity, high filler load. I use this strategy for most of my cases.
The flowable bulk fill is injected into the base of the proximal box, ensuring the compule’s tip remains in the resin’s main body to reduce bubble formation. The bulk fill is then polymerized.

The advantages of using flowable bulk fills are:
- Increased efficiency.
- Lower viscosity, resulting in fewer voids and improved adaptation.
- Reduced polymerisation stress in comparison with paste composite.
The disadvantages are:
- Increased translucency, resulting in a drop in value (gray), which can compromise esthetics.
- Reduced filler volumes, resulting in a reduction in mechanical properties.
Condensation of Resin/RMGIC
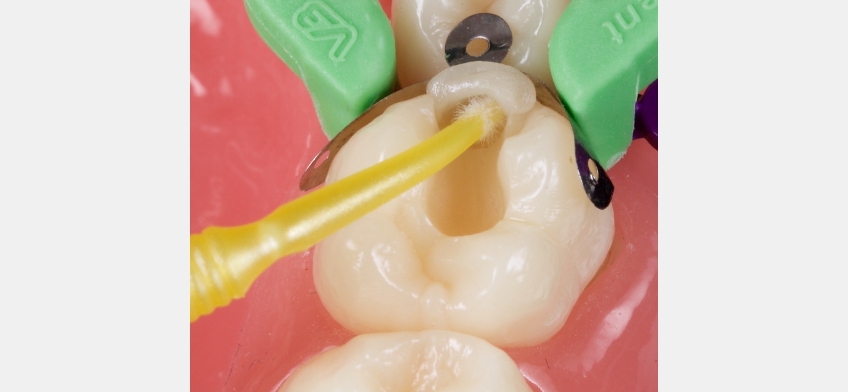
Restorative materials are conventionally condensed with a metal ball burnisher or multi-purpose instrument. Unfortunately, this often pushes the restorative material beyond the matrix band gingivally or axially, resulting in an overhang. Further, the restorative material often adheres to the metal instrument and “pulls back,” causing a void between the material and the tooth structure.
I use a microbrush for condensation. This ensures an ideal condensation pressure without the potential for overhangs and does not allow pullback12.
Restoring the Occlusal Half of The Class II Proximal Box
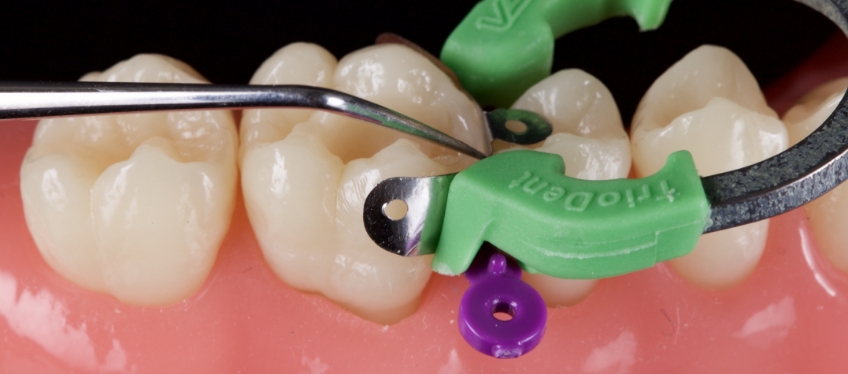
The occlusal portion of the Class II box is restored with conventional paste composite of the appropriate VITA shade. The thickness of this increment is maintained at 0.5-1.0 mm to reduce polymerization stress.
The composite is condensed with a microbrush. The marginal ridge is then refined with an explorer (American Eagle), which is held at 45 degrees to the long axis of the tooth; the explorer is moved from the center of the marginal ridge out toward the axial wall on the facial. Doing so refines the contour of the marginal ridge and pulls the resin towards the axial margin, reducing voids. This procedure is then repeated towards the lingual. Finally, a pulse activation strategy is employed to polymerize the resin.
The remaining Class 1 defect is then definitively restored using the occlusal compass approach.
In this series about Class II restorations, we have covered the main techniques for closing the Class II box. This article focused on the main processes and strategies that make up the centripetal technique, starting with the gingival increment and the three common strategies when restoring the proximal box. The finishing and polishing phases will be the subject of a subsequent Spear Digest article.
References
- Smithson, J. (2012). ” The simplified concept”: predictable posterior composites. Dentistry Today, 31(1), 136-8.
- Fróes-Salgado, N. R., Silva, L. M., Kawano, Y., Francci, C., Reis, A., & Loguercio, A. D. (2010). Composite pre-heating: effects on marginal adaptation, degree of conversion and mechanical properties. Dental Materials, 26(9), 908-914.
- Wagner, W. C., Aksu, M. N., Neme, A. L., Linger, J., Pink, F. E., & Walker, S. (2008). Effect of pre-heating resin composite on restoration microleakage. Operative Dentistry, 33(1), 72-78.
- Daronch, M., Rueggeberg, F. A., & De Goes, M. F. (2005). Monomer conversion of pre-heated composite. Journal of Dental Research, 84(7), 663-667.
- Reeh, E. S., Messer, H. H., & Douglas, W. H. (1989). Reduction in tooth stiffness as a result of endodontic and restorative procedures. Journal of Endodontics, 15(11), 512-516.
- Loomans, B. A. C., Opdam, N. J. M., Roeters, F. J. M., Bronkhorst, E. M., Burgersdijk, R. C. W., & Dörfer, C. E. (2006). A randomized clinical trial on proximal contacts of posterior composites. Journal of Dentistry, 34(4), 292-297.
- Smithson, J. (2013). The modified super-closed sandwich technique. Dental Update, 40(2), 155-156.
- Zanata, R. L., Navarro, M. F., Ishikiriama, A., da Silva e Souza Júnior, M. H., & Delazari, R. C. (1997). Bond strength between resin composite and etched and non-etched glass ionomer. Brazilian Dental Journal, 8(2), 73-78.
- Wexler, G., & Beech, D. R. (1988). Bonding of a composite restorative material to etched glass ionomer cement. Australian Dental Journal, 33(4), 313-318.
- Kerby, R. E., & Knobloch, L. (1992). The relative shear bond strength of visible light–curing and chemically curing glass-ionomer cement to composite resin. Quintessence International, 23(9).
- Mitra, S. B. (1994). Coefficient of thermal expansion of some methacrylate-modified glass ionomers. The Journal of Dental Research, 73, 219.
- Alomari, Q. D., Reinhardt, J. W., & Boyera, D. B. (2001). Effect of liners on cusp deflection and gap formation in composite restorations. Operative Dentistry, 26(4), 406-411.
SPEAR campus
Hands-On Learning in Spear Workshops
With enhanced safety and sterilization measures in place, the Spear Campus is now reopened for hands-on clinical CE workshops. As you consider a trip to Scottsdale, please visit our campus page for more details, including information on instructors, CE curricula and dates that will work for your schedule.

By: Jason Smithson
Date: March 7, 2025
Featured Digest articles
Insights and advice from Spear Faculty and industry experts
