- Article
- Treatment Planning
Dental Diagnostic Wax Up: Why It Matters and How It’s Made
Robert Winter
•
December 23, 2017
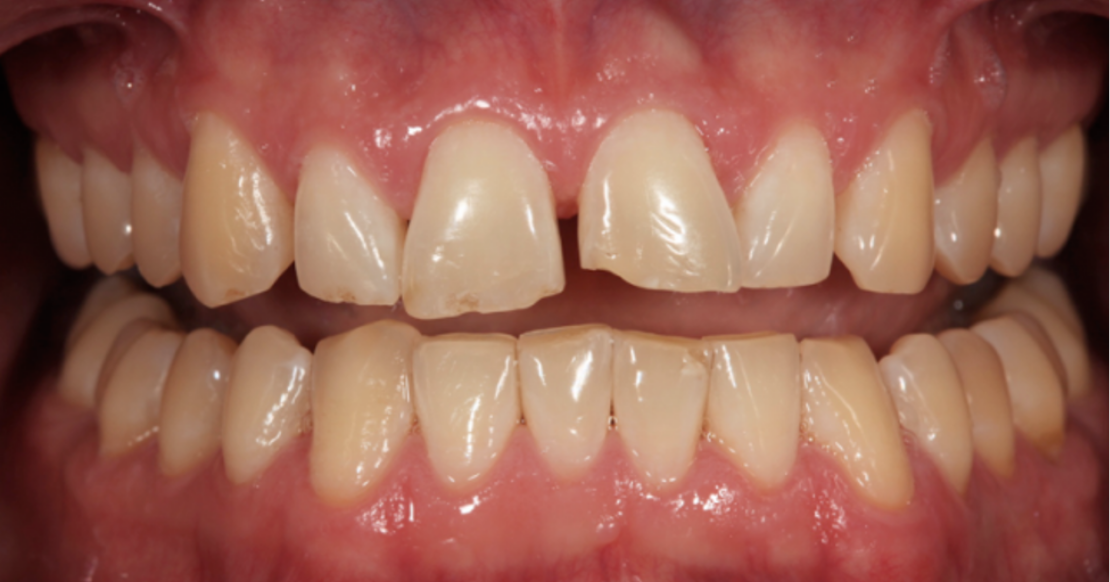
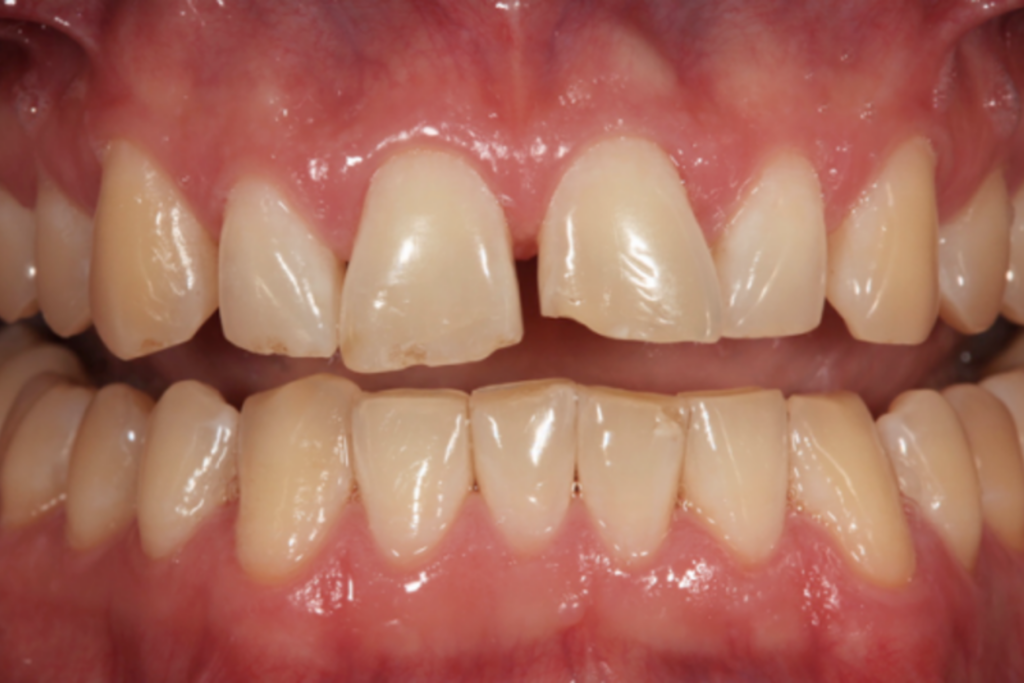
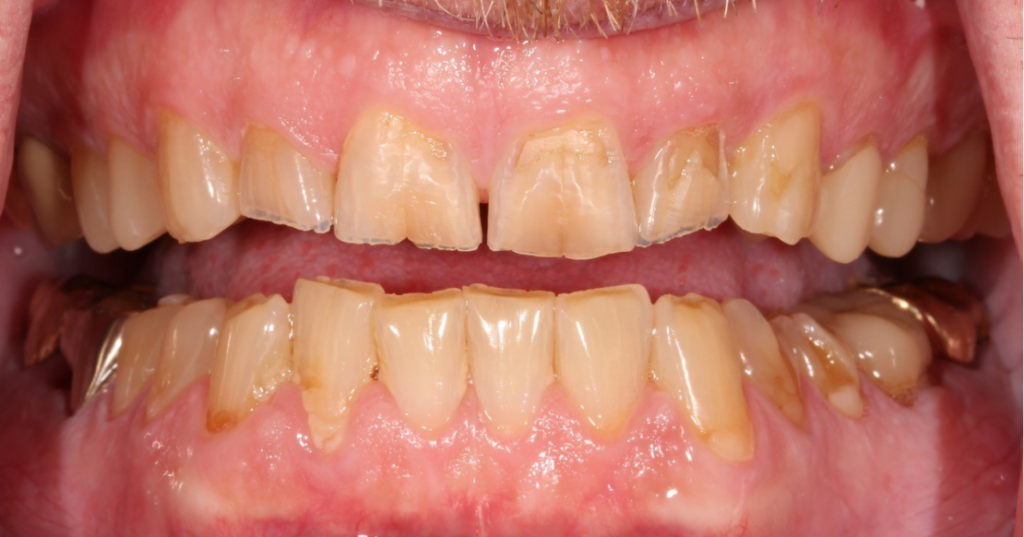
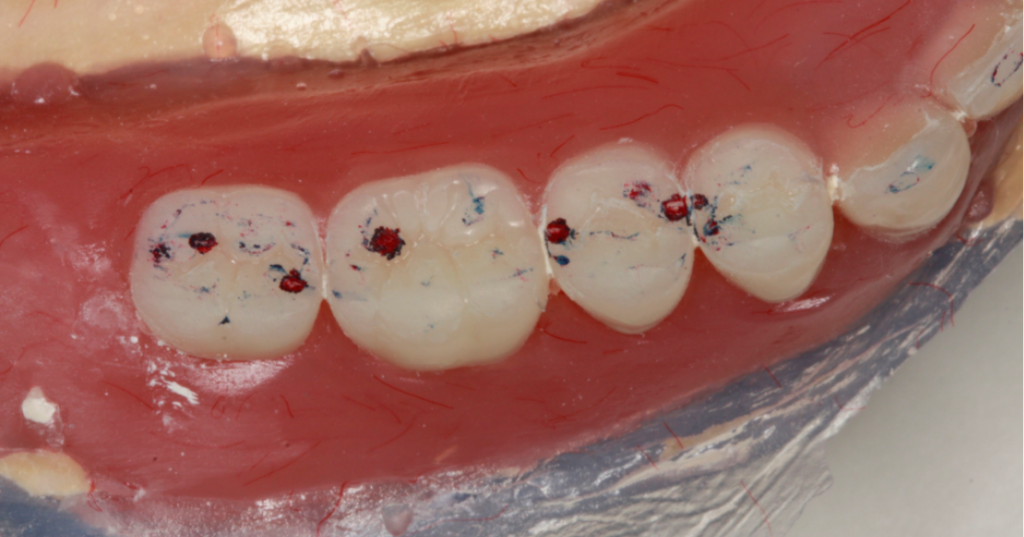
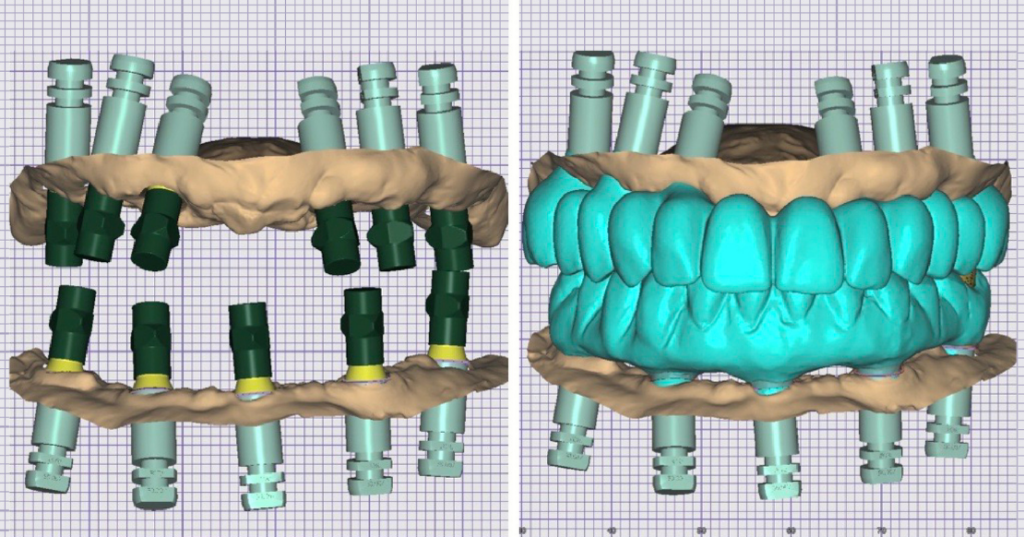
When talking to dentists, I’m frequently asked about when or how to use a dental diagnostic wax up. This valuable diagnostic tool can be used in your practice to establish a clear visual representation of the desired patient outcome, facilitating treatment planning and communication.
What is a dental diagnostic wax up?
It’s defined in the Glossary of Prosthodontic Terms as “waxing of intended restorative contours on dental casts for evaluation and planning restorations; a wax replica of a proposed treatment plan. Comparable to trial dentures.”
I think of a wax up as the foundation of the entire treatment plan, because it physically establishes the proposed outcome of esthetics and function. Guides, stents, templates, and matrices are fabricated from the diagnostic wax up or from a cast made from the wax up to aid in performing surgical and restorative procedures.
Why you should do a diagnostic wax up
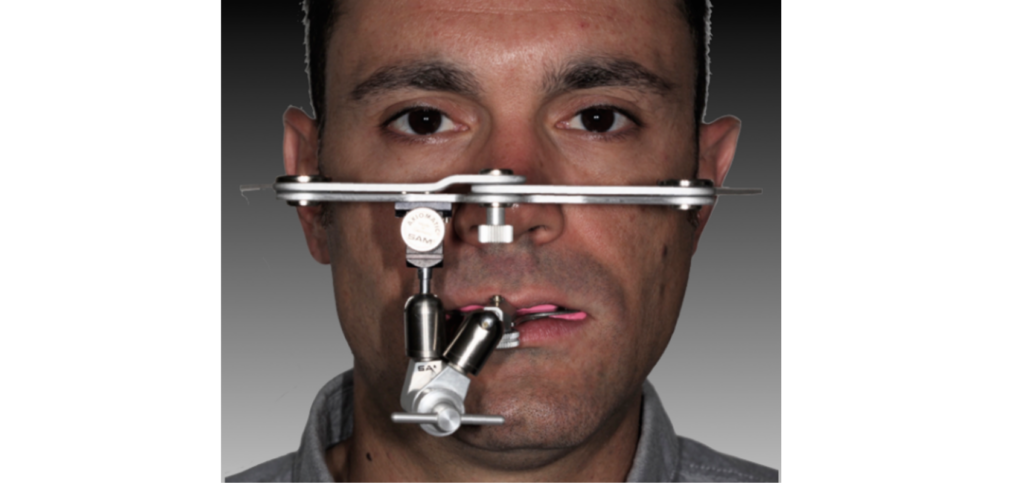
Because a diagnostic wax-up is an outcome-based diagnostic tool, it should accurately reflect the desired treatment outcome. The clinician is responsible for accurately communicating to the laboratory the desired outcome that the technician is to create with the wax-up.
The instructions written on the prescription form should reflect the needs and expectations of the patient and the clinician. The laboratory’s responsibility is to establish the tooth position, alignment, inclination, morphology, and occlusal scheme based on the clinician’s directions. It should not be arbitrarily done based on the technician’s interpretation of minimal clinical information. The greater the room for interpretation, the more likely clinician and patient expectations will not be met.
Every detail on that prescription matters because the laboratory builds the wax-up in a fixed sequence, working from the anterior position outward to the posterior occlusion.
Missing or unclear direction at any step in that sequence carries forward into every step after it, which is why the technical process, covered later in this article, is worth understanding even if you never pick up a wax spatula yourself.
Diagnosis and treatment planning with a diagnostic wax up
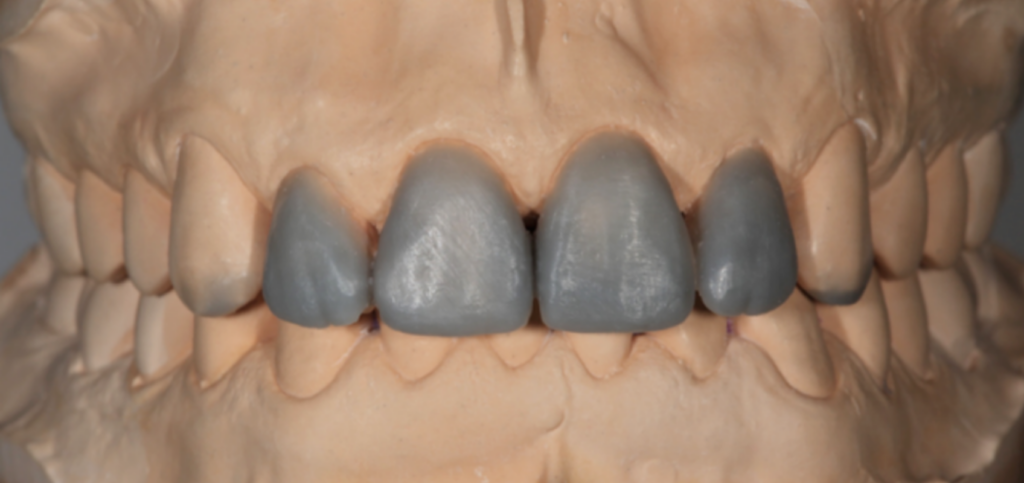
By completing a dental diagnostic wax up before discussing the proposed treatment plan with the patient, the clinician can confirm that the plan is achievable. It’s used as a diagnostic aid to establish the desired esthetic changes (tooth position, alignment, inclination, proportion, and morphology) and develop or confirm the occlusal scheme and function.
During the waxing process, it may be determined that the plan can’t be achieved from a functional perspective. For example, if you’re restoring the maxillary arch and opening the vertical dimension, the diagnostic wax-up may indicate there is no longer anterior contact with the mandibular anterior teeth. The anterior veneers you had planned, or the patient requested, won’t work in this situation, because you’d need to add ceramic on the palatal aspect of the upper teeth to reestablish contact with the lower anterior teeth to achieve the desired function.
This necessitates changing the plan from restoring the teeth with veneers to using crown restorations on the maxillary anterior teeth, or doing additional procedures on the mandibular anterior teeth to establish contact.
Pretreatment using a diagnostic wax up
Some clinicians use the dental diagnostic wax up as a visual aid to show the proposed treatment outcome to the patient. Some patients may want to see the proposed esthetic changes in their mouth before accepting treatment. If this is the case, a dental diagnostic wax up will provide the basis for creating an intraoral mock-up. This step works well only when minor changes are proposed.
A stent made from the dental diagnostic wax up and filled with provisional material (Luxatemp) is placed over the natural teeth and allowed to set. After the stent is removed, the mockup should closely represent the outcome proposed by the dental diagnostic wax up. If significant changes in tooth position are proposed, the stent will be distorted when it’s placed over the unprepared teeth that will be changed. Because of this distortion, using a mockup in this situation may defeat its intended purpose.
Using the dental diagnostic wax up during treatment
The dental diagnostic wax up is used as a template for the desired outcome and is used to create the following treatment tools:
- Two different preparation silicone index/guides. A palatal guide, which includes the incisal edge of the teeth, and a window guide. Their use is critical for ensuring there’s adequate space for the selected restorative material thickness to achieve strength and durability and to create the desired esthetic outcome.
- A copyplast stent, used to create the intraoral mockup for pretreatment evaluation and final tooth preparation, and provisional restorations used in trial therapy to evaluate the desired esthetic and functional changes. Any changes made in the provisional restorations should be incorporated into the design and fabrication of the definitive restorations.
- A provisional shell made before the preparation of the teeth.
How a dental diagnostic wax up is technically produced
Understanding the sequence your laboratory follows makes it easier to write a prescription that gives the technician everything needed to build an accurate wax up. This is the same sequence taught in Spear’s Treatment Planning With Confidence Workshop, and it applies when a full mouth wax up is being completed with the patient treated in centric relation (CR).
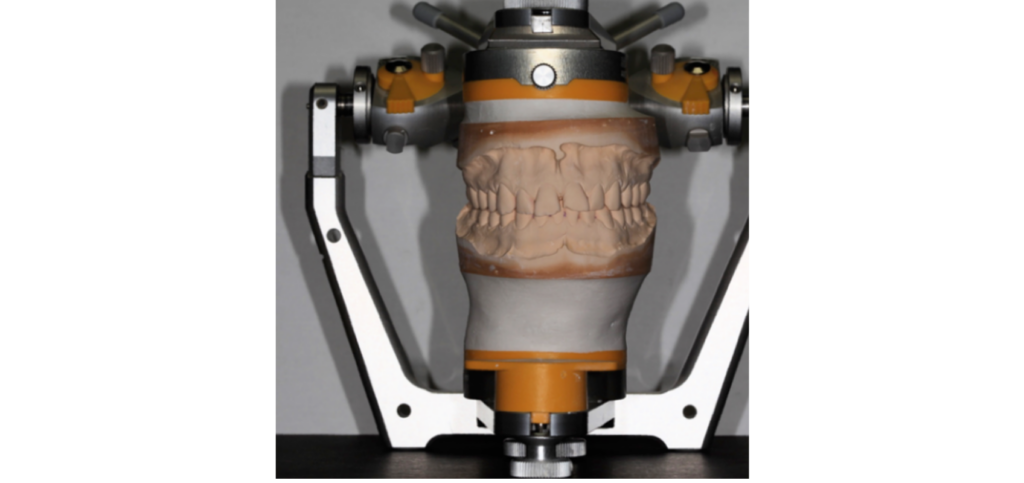
- Mounting the casts. The maxillary cast is mounted using a horizontal transfer device, such as a face bow or Kois transfer device, and the mandibular cast is mounted using a centric relation record. Accurate transfer information here matters because an unclear occlusal plane or a canted midline at this stage carries through to the finished wax-up and, eventually, the definitive restorations.
- Waxing the anterior teeth. The maxillary anterior teeth are waxed first, establishing labial anterior-posterior position, labial inclination, incisal edge position and length, midline location and inclination, and the incisal plane. The mandibular anterior teeth are waxed next, and once their labial surface and incisal edge are set, the lingual morphology is created.
- Waxing the palatal morphology of the maxillary anterior teeth. This step establishes the contact point with the mandibular incisal edges, including the minimum space needed for restorative material strength, the vertical dimension, and the pathway of function between centric occlusion and the edge-to-edge position.
- Waxing the maxillary posterior buccal cusps. Only the buccal cusps are waxed at this stage, establishing cusp length, the occlusal plane, and buccal corridor width.
- Waxing the mandibular posterior teeth. This establishes buccal cusp height, the occlusal plane, the curve of Spee, the curve of Wilson, and overall occlusal morphology.
- Completing the maxillary posterior teeth. The remaining anatomy is waxed to establish centric occlusion contacts, occlusal morphology, and lingual cusp length.
- Refining occlusion and function. The technician makes final adjustments to the established occlusal scheme across both arches.
Because each step builds on the one before it, incomplete direction early in the sequence, such as an unclear vertical dimension or an ambiguous midline, is difficult to correct later without starting over. A precise prescription at the outset is what makes the rest of this dental diagnostic wax up sequence reliable.
Frequently Asked Questions
SPEAR campus Workshops
Learn Hands-on From Faculty Who Still Practice
A few days at Spear Campus can change how you diagnose, plan, and present cases, not through more lectures, but through hands-on training led by faculty who treat patients every week. Work through real cases in small groups and leave with techniques you can use on your next patient.
Featured Digest articles
Insights and advice from Spear Faculty and industry experts