
- Article
- |
- Techniques / Materials
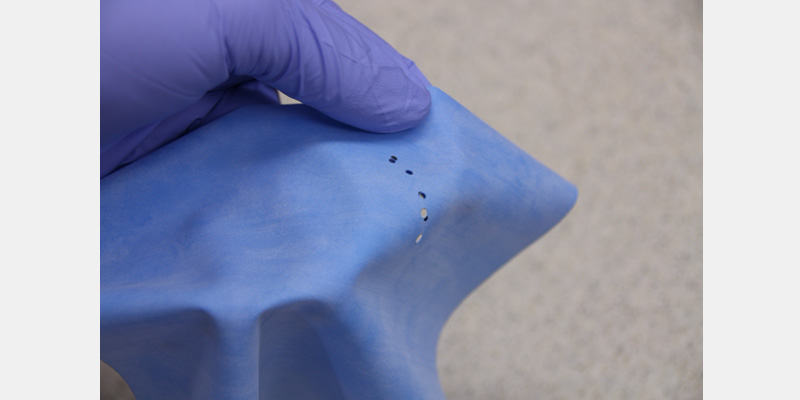
Rubber Dam Armamentarium: Tools and Techniques Guide
Rubber dam isolation depends on having the right armamentarium and knowing how to use it. This guide covers the tools, materials, and techniques needed to place a rubber dam predictably and comfortably, from sheet selection through clamp choice and placement technique.
Why rubber dam isolation matters
The rubber dam has a long clinical track record. It was invented in 1864 by Dr. Sanford C. Barnum of Monticello, New York, to address saliva contamination during procedures, and it was formally recognized by the American Dental Association in 1870. Many of the tools covered in this article, including the hole punch and clamp designs, trace directly back to innovations from the following decades that are still in use today.
That track record holds up because rubber dam isolation solves real clinical problems. It’s particularly useful for deep carious lesions with a risk of pulpal exposure; restorative procedures near recent extraction sites; anterior cases where tissue retraction is needed for proper preparation; and procedures using caustic materials, such as hydrofluoric acid, for ceramic repairs, where isolation protects adjacent soft tissue. For endodontic therapy, the use of a rubber dam is considered the standard of care.
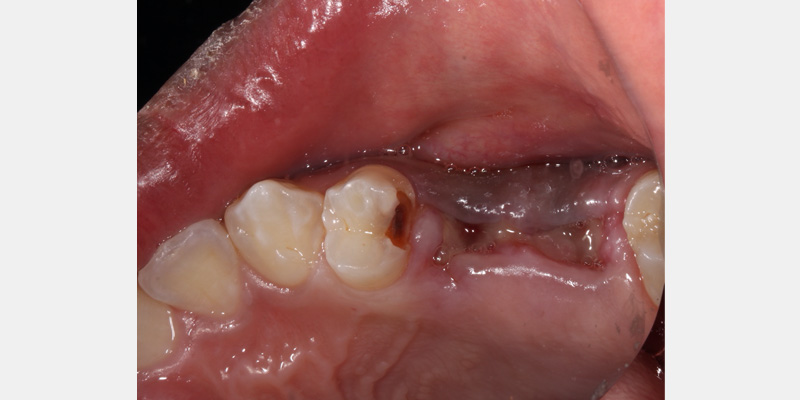
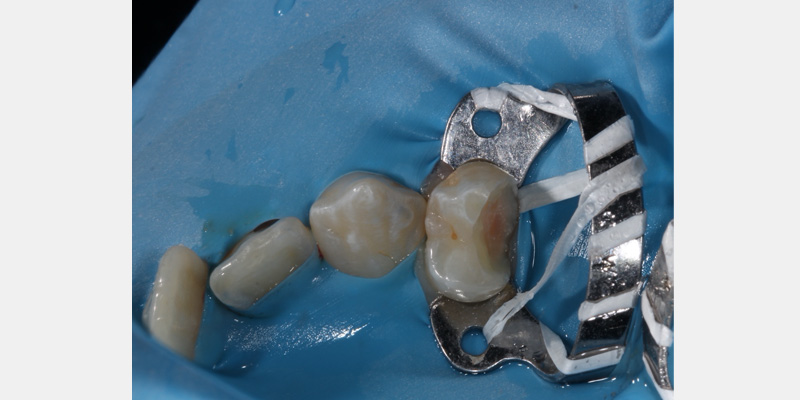
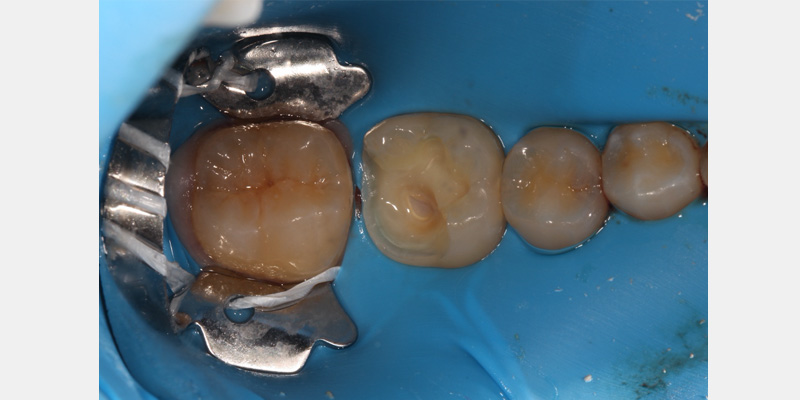
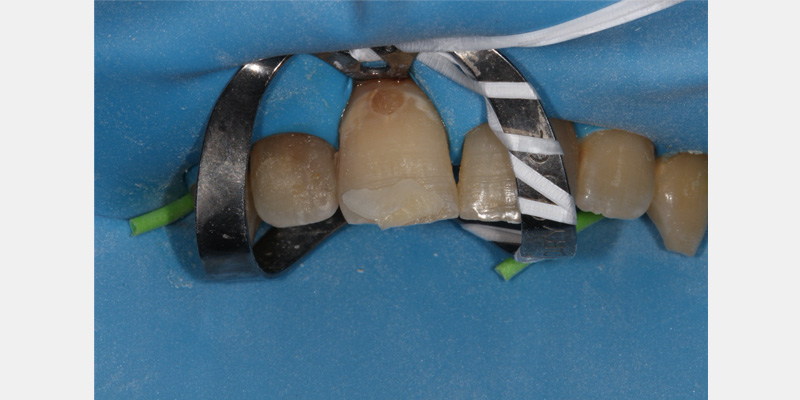
Armamentarium for using a rubber dam in dental procedures
Rubber dam placement in dental procedures necessitates a specialized set of tools designed to ensure effective isolation and patient comfort.1 The main equipment required for rubber dam dental placement can be summarized as:
- Rubber dam sheets
- Rubber dam napkins
- Hole punch
- Rubber dam forceps
- Rubber dam frame
- Rubber dam clamps
- Lubricant
- Wedges and wedgets2
- Floss
- Teflon tape
- Ora-seal
The armamentarium can be selected and configured in many ways, depending on the operator’s education and preferences.
Material choices in rubber dam sheets
A dental dam is classically supplied as a 150 mm (6-inch) square sheet of latex (or latex-free, usually nitrile) in various thicknesses and colors. The thickness typically ranges from 0.14 mm to 0.38 mm and is usually classified as thin, medium, or heavy.
Latex offers better adaptation of the dam to the tooth, improved seal, and ease of placement; however, the risk of latex allergy should be considered. I recommend latex-free products within a dental practice setting.
Natural latex comes from the tree Hevea brasiliensis, which grows in the tropics. The latex is then modified with chemicals to create the rubber dam sheet. Allergic reactions may be either immediate (IgE-mediated) or delayed (T-cell-mediated); the severity and symptoms of the reaction vary from person to person.
|
Immediate (Type I) Reaction |
Delayed (Type IV) Reaction |
|---|---|
|
Occurs within about 30 minutes of latex exposure, caused by proteins in the latex, and typically resolves within 24 hours. Can cause anaphylaxis, characterized by itching, urticaria, angioedema, and breathing difficulties. |
Results from chemicals or powder added during manufacturing. Symptoms, including itching and allergic contact dermatitis, appear 48 to 72 hours after exposure and may persist for a week. Anaphylaxis does not occur with this reaction type. |
Rubber dam placement tends to cause more severe reactions than, for example, examining a limb with latex gloves, because greater amounts of allergen can be absorbed via mucous membranes. Risk increases with existing allergic disease (asthma, eczema, hay fever, or food allergy) or an immediate family history of latex allergy. In summary, a latex rubber dam should be avoided.
Nitrile rubber dam is manufactured from synthetic polyisoprene polymer, which can be made in thinner sections, has greater tear resistance (although it has lower memory), and, most importantly, reduces the risk of allergic reaction.3
I prefer a heavy-gauge rubber dam, which has superior adaptation and is less likely to tear during placement and throughout operative procedures. Operators should be aware that some lower-quality (and less expensive) rubber dams may exhibit significant thickness inconsistencies within the same batch.
Color choice is left to the operator’s discretion; numerous colors are available, with blue and green the most common, along with black, gray, beige, and pink. Black can be useful when photographing cases because it provides a neutral yet high-contrast background.
Rubber dam punch design, hole sizing, and placement
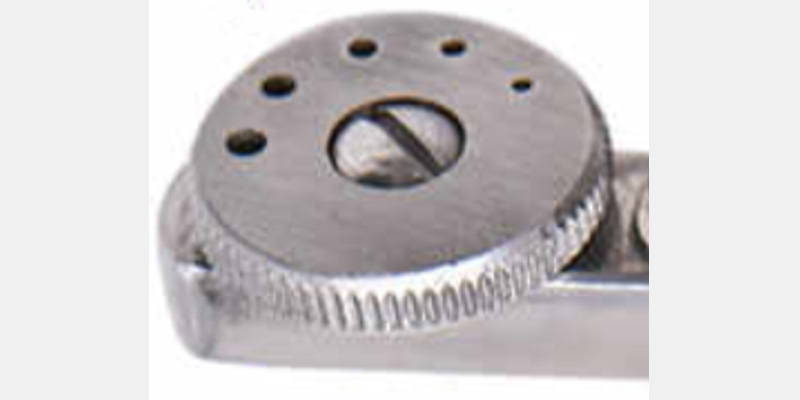
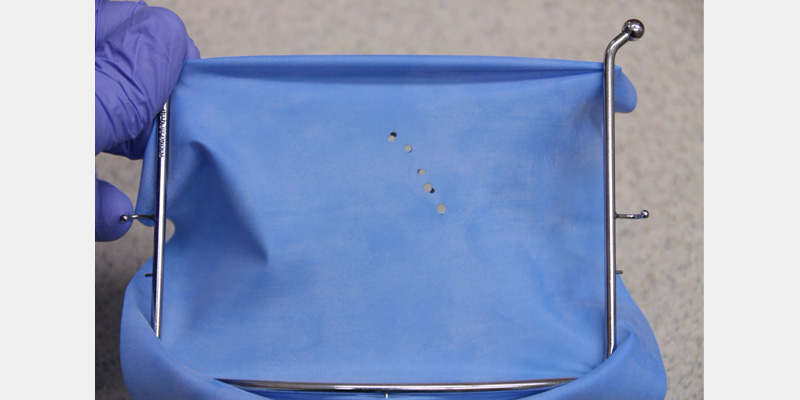
A rubber dam punch is used to place the appropriately sized hole in the dam. There are many designs, although the Ainsworth is perhaps the most common. It allows the operator to choose between five different hole sizes.
- 0.076 inch: used for the anchor tooth (the tooth which receives the clamp)
- 0.064 inch: used for molars
- 0.052 inch: used for premolars and canines
- 0.041 inch: used for upper incisors
- 0.029 inch: used for lower incisors
Wheel-style punches are another common design and use the same principle: a graduated set of five holes, sized from largest (for a clamped molar) to smallest (for a mandibular incisor). Whichever punch design is used, the priority is a clean, correctly sized hole for the tooth being isolated.
Care should be taken to ensure the punch is sharp, so the holes are punched cleanly without tags, which can cause the rubber dam to tear during placement. During sterilization, the assistant should remove all waste dam from the punch holes. Residual waste dam will cause sterilization issues and can make subsequent hole-punching more challenging, potentially resulting in ragged holes and tearing of the dam.
When isolating multiple teeth, the hole positions should follow the curve of the dental arch. A template can be used to ensure the correct positioning of the hole punch; these work well when the teeth are aligned. However, they are less successful when there is significant spacing or crowding of the teeth.
As a general rule, holes should be spaced about 4.0 to 6.0 mm apart so the dam is neither overstretched nor too loose between adjacent teeth. If floss ties are planned for the case, the holes should be spaced farther apart than usual, around 1 to 2 mm beyond that general spacing, to allow enough volume of the dam to invert into the sulcus on adjacent teeth. Failure to allow for this additional space usually results in the gingival papilla popping out of the dam, causing leakage of saliva, crevicular fluid, and blood.
If spacing or crowding is present, the dam can be placed over a model of the teeth and tooth positions marked with a marker pen, or a diagnostic cast of the patient’s dentition can be used to customize hole placement to the individual’s tooth positions.



How lubricant makes rubber dam placement easier
Before placing the rubber dam clamp, applying a lubricant to the mouth side of the dam is good practice. The lubricant helps the rubber dam slide more easily over the clamp and into the interproximal area during placement. Placement can be more expedient if the operator flosses the teeth before the dam placement (pre-flossing).
Several options have been proposed, including shaving cream, glycerine, and KY Jelly. I favor the latter, which is available in various fruit flavors, making the rubber dam placement experience more pleasant for the patient.
Whichever lubricant is used, Vaseline (petroleum jelly) should be avoided. It can weaken the dam material, which leads to tearing during placement or the procedure.
The function of the rubber dam frame
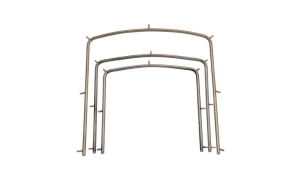
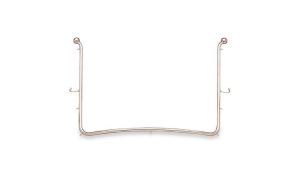
The frame keeps the sheet of rubber dam tight, ensuring that the operator and assistant can work without the dam obstructing their vision or becoming entangled with rotary and hand instruments. A taut rubber dam also improves suction efficiency and reduces suction noise during the procedure.
There are many dam frames on the market; all have small pins at the periphery that secure the dam to the frame and are available in “child” (smaller) or “adult” (larger) sizes. The frames can be made of stainless steel, polypropylene, or another plastic. The plastic frames can be helpful when radiography is anticipated during the procedure (e.g., endodontics) because they’re not radiopaque and reduce the risk of the frame superimposing onto the radiograph. However, the plastic frames are less robust and more challenging because the pins are blunter.
I prefer the metal Young’s pattern frame because it is durable and easy to use, and it has a ball finish at the free ends, which reduces the risk of iatrogenic facial injury during placement and removal.
Attaching the dam to the frame before placing it intraorally, rather than placing the sheet first and then framing it, keeps the dam taut and makes it easier to seat.

Selecting rubber dam forceps
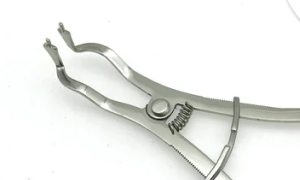
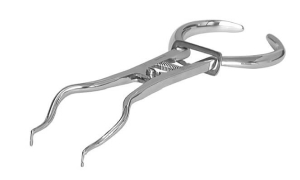
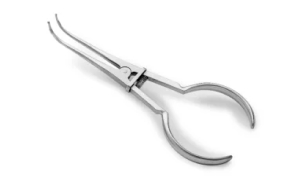
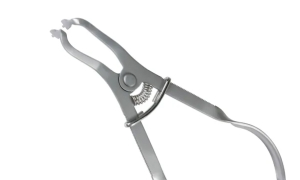
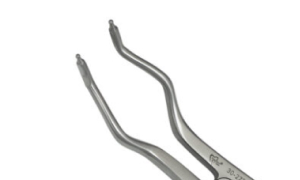
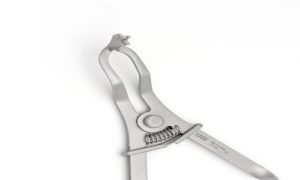
The forceps are used to open the dam clamp and position it accurately on the anchoring tooth. There are numerous designs: Brewer, Palmer, and Lightweight.
The main difference is in the shape of the tines at the tip: These are usually either ball-ended or non-ball-ended. I prefer the latter because it simplifies clamp placement, as the forceps disengage more easily.
Selecting and using rubber dam clamps
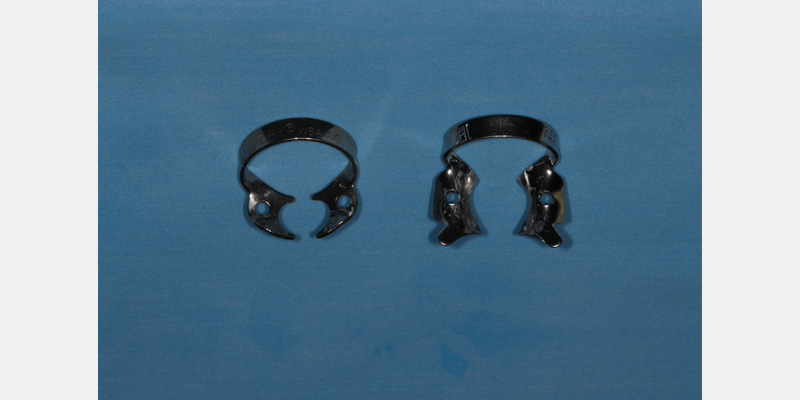
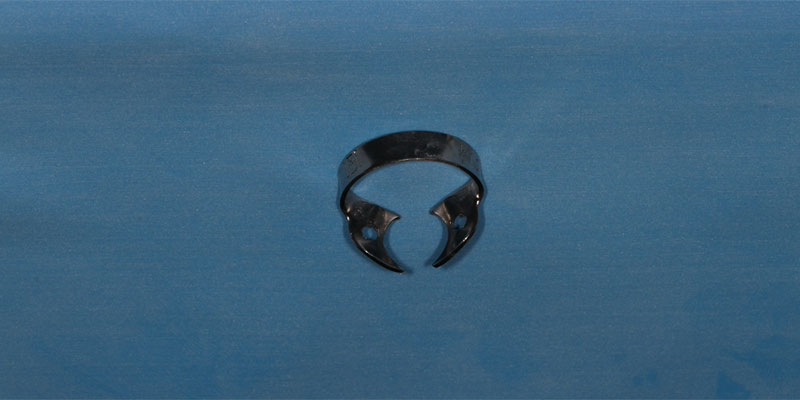
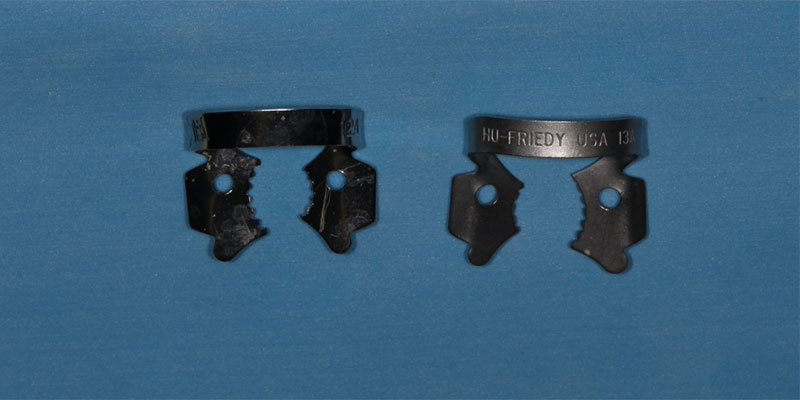
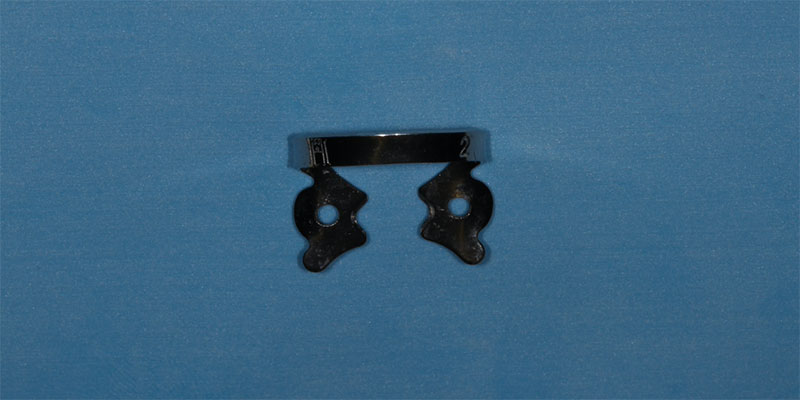
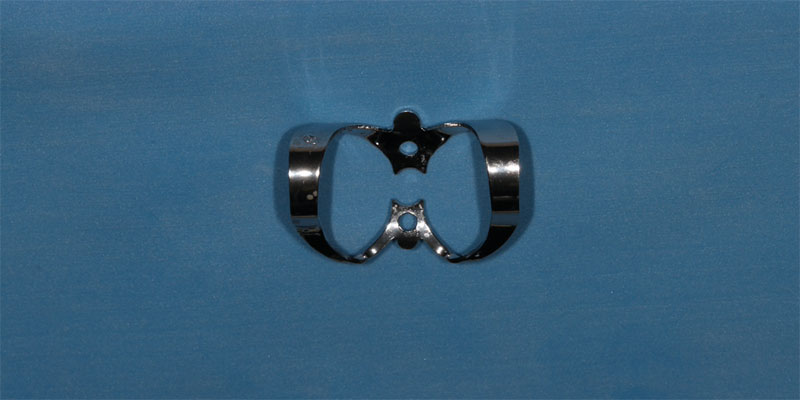
Rubber dam clamps fall into two broad design categories: winged and wingless. Winged clamps have an extra lip built into the design that can help retract the dam, but they are bulkier than wingless clamps. Both designs work well; the choice between them is largely a matter of operator preference.
As a starting reference, useful clamp choices by tooth type include:
- W8A for maxillary molars
- 14A or W14 for mandibular molars
- 12A for mandibular right molars, 13A for mandibular left molars
- Clamp 2 for premolars
- Clamp 9 for anteriors where facial retraction is needed for cavity preparation
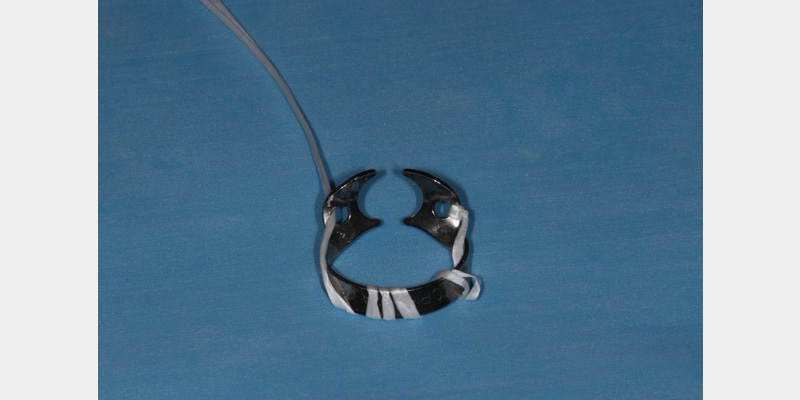
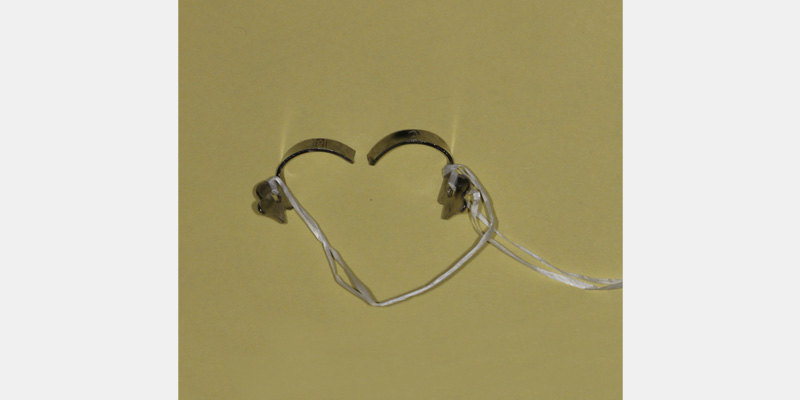
Clamps can fracture over time due to wear and tear, most commonly at the bow. To prevent a fractured clamp from becoming an aspiration risk, ligate floss through one hole, around the bow, and through the opposing hole before seating the clamp.
Placement techniques for a secure seal
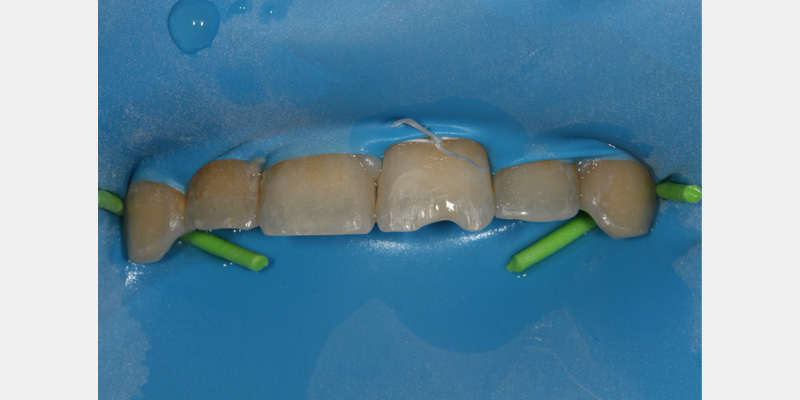
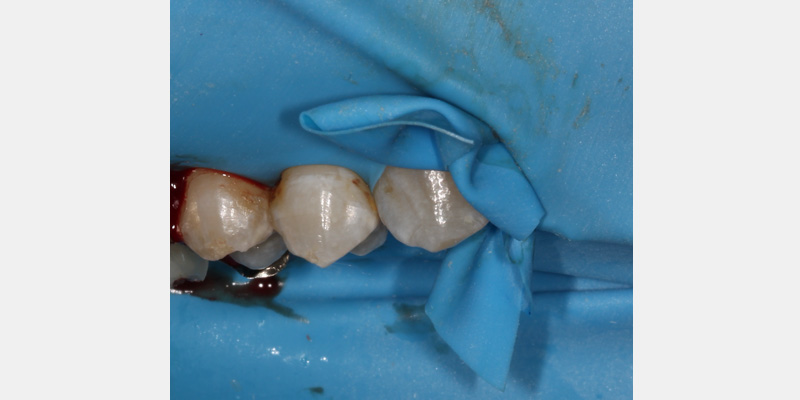
Floss should be used to guide the dam through the contact areas of the teeth. After the dam passes through the contact point, floss can help invert it into the gingival sulcus. Pulling the floss buccally rather than back through the contact point helps minimize the risk of the dam dislodging from the tooth.
Light or open contacts between adjacent teeth can make it harder to secure the dam. A floss ligature tied with a square knot can help hold the dam in place around the tooth. If that isn’t sufficient, a thicker material such as a Wedjet can be used, or a corner of the dam can be cut off and used interproximally to secure it.
If minor leakage still occurs after placement, a caulking material can seal the affected area. Unbonded, light-cured composite can also be used as a caulking agent.
Optimizing rubber dam use in dental practice
Properly selecting and using a rubber dam in the dental armamentarium significantly enhances the efficiency and safety of dental procedures. Each element plays a crucial role in ensuring successful isolation and patient comfort, from the choice of rubber dam sheets, whether latex or latex-free, to the precise use of punches, clamps, forceps, and frames.
To optimize the use of rubber dams in dental practice, it is essential to consider the material properties, potential allergic reactions, and the procedural nuances covered above.
Contributing Author
Dr. Andy Janiga
References
- Scheller-Sheridan, C. (2013). Basic guide to dental instruments. John Wiley & Sons.
- Duggal, M., Cameron, A., & Toumba, J. (2012). Paediatric dentistry at a glance.
- André, R., Tehrany, Y. A., Bugey, A., Edder, P., & Piletta, P. (2022). Hand dermatitis aggravated by contact allergy to methylisothiazolinone in protective nitrile gloves. Contact Dermatitis, 87(4), 383.
Frequently Asked Questions
SPEAR Membership
Learn Faster. Treat Better.
Whether you have 10 minutes or time to dive deeper, Spear Membership gives you the learning, tools, and support to keep improving.
Choose the level of support and structure that fits your goals.

By: Jason Smithson
Date: August 21, 2024
Featured Digest articles
Insights and advice from Spear Faculty and industry experts