Bite Records For a MAD in the Digital World
K.I.S.S. — Keep it simple, sister!
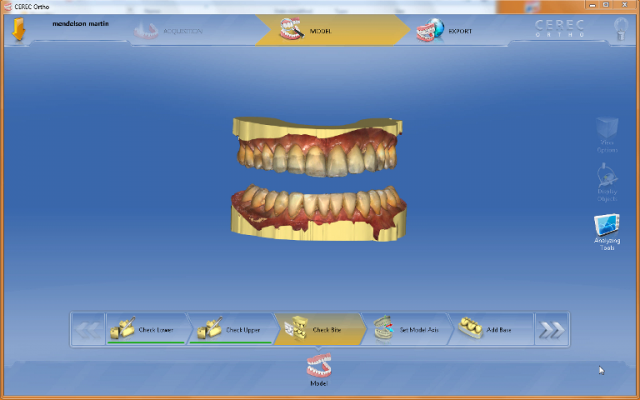
Scanning the upper and lower arch and taking digital impressions. Call it what you want. I call it not taking an alginate or PVS impression (Fig. 1).
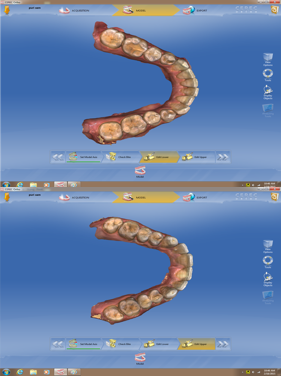
Cheating? Slacking? Taking shortcuts? I guess, if that’s the way you feel. I don’t. I call it brilliant if it’s at least as accurate, faster, and easier for the patient. And so it is. Evaluate it, critique it, research it, try it. No need to overthink it, right?
Dentistry is hard enough. Let’s not complicate the simple. More importantly, as dentistry evolves, let’s not keep the complicated around if we don’t have to.
So, if we agree that scanning is easier and more accurate than taking a traditional impression, why do we continue complicating the bite record? Yes, I know. I like silicone too. It has been so good to me over the years. It is still good to me when necessary, and I am grateful.
For instance, when taking a bite record to mount models in a fully seated condylar position, a leaf gauge is one of the most predictable methods to help obtain the physiological position. And one way to hold that position while scanning the bite is to use silicone and trim off the material in the premolar area before scanning the bite, thus preventing the patient from moving while moving the camera from one side to the other (Fig. 2).
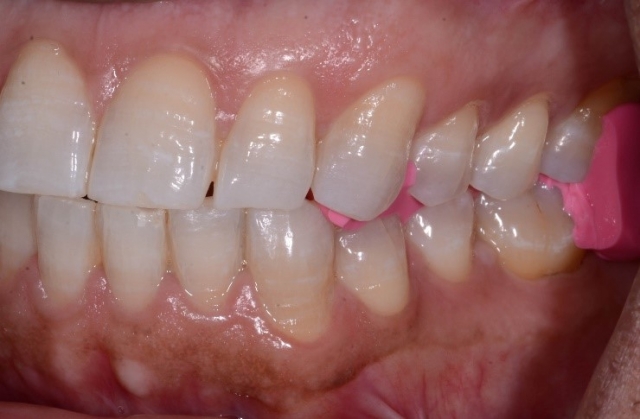
Again, makes sense, right? But would you be open to the possibility that we can just quickly and accurately scan the bite while the patient maintains adequate pressure, helping seat the condyles? (Fig. 3)
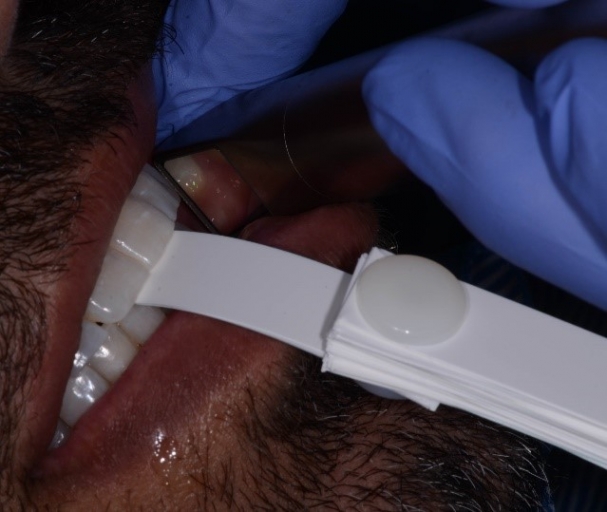
Yes, I have mentioned this in past articles, but it warrants review here. Why?
I was recently at the American Academy of Dental Sleep Medicine annual meeting, chatting with one of my mentors/colleagues/good friends. He was asking me how I take the record for a mandibular advancement device (MAD). Here is what I told him:
Step 1: Place the George Gauge and help the patient find a comfortable position for six to eight hours. Tighten the nob to hold the position (Fig. 4).
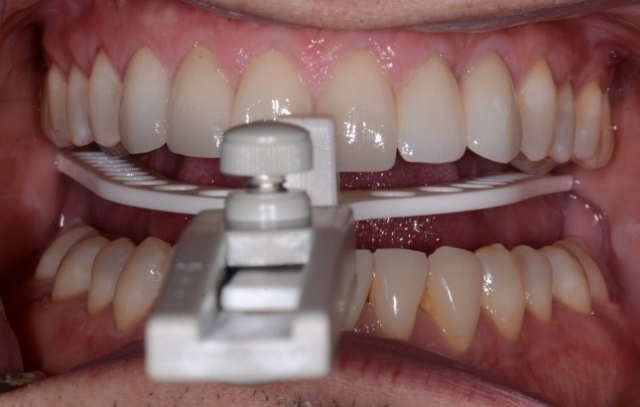
Step 2: Take out the George Gauge and chat with the patient for a few minutes, facilitating natural mandibular movement and forgetting our goal for those two minutes.
Step 3: Put the George Gauge with the nob tightened at the previously decided “comfortable” position back in the patient’s mouth. Ask the patient to imagine staying in this position for six to eight hours. Ask if he wants me to loosen the nob and allow him to find a new starting position.
Step 4: Repeat until the patient is comfortable with that starting position (Fig. 5).
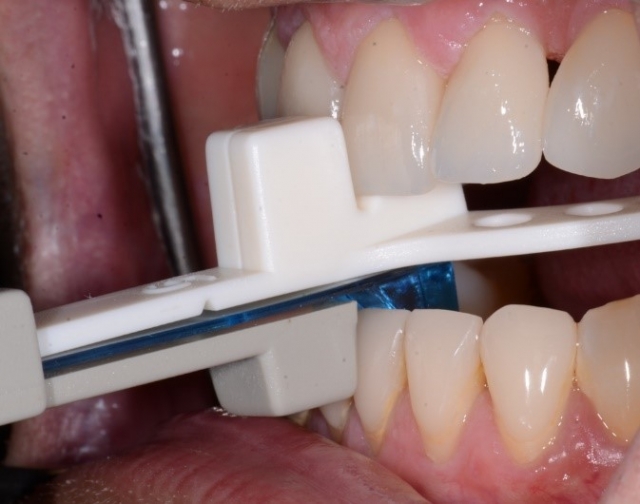
Step 5: Scan the bite!
Step 6: There is no step 6! That’s it. The position is captured, and the file is ready to send to the lab (OK, that can officially be step 6 if you still need to complicate the simple). (Fig. 6)
Certainly, if you are worried about the patient shifting as you move the camera from one side to the other, you are more than welcome to place some of our good friend, silicone, onto the George Gauge, as much as you want! (Figs. 7 and 8)
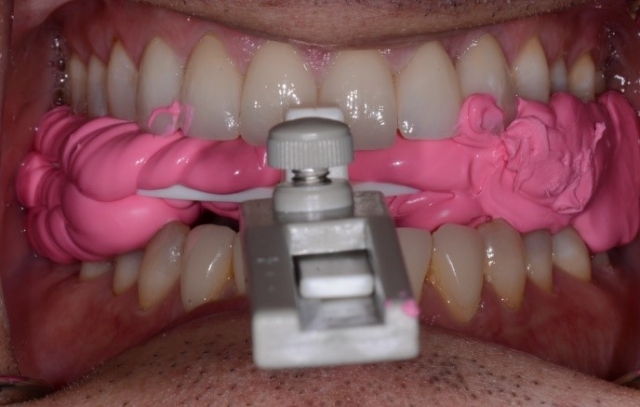
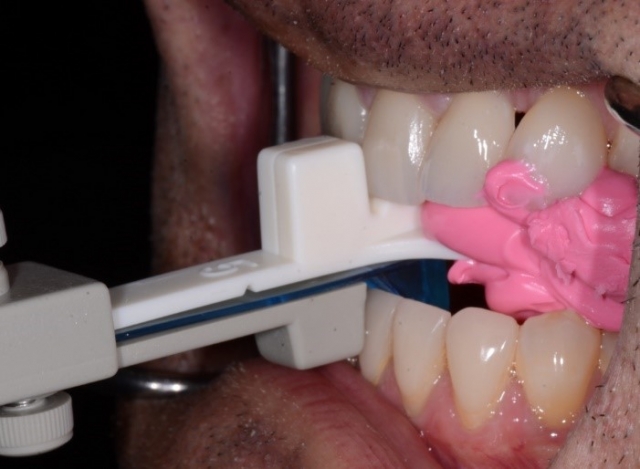
However, you must clean up the premolar area before scanning the bite, an added and usually unnecessary step.
If you are planning on using software like SicatAir to compare airway volume at that position compared to maximum intercuspation, then it might be a good idea to leave the silicone, and you could even take out the lower part of the bite fork, allowing the patient to bite solidly into the material (Figs. 9–12).
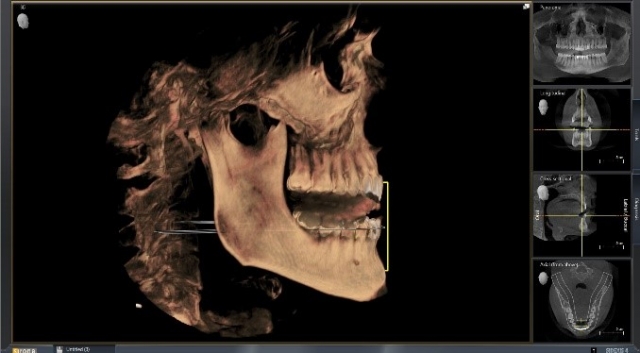
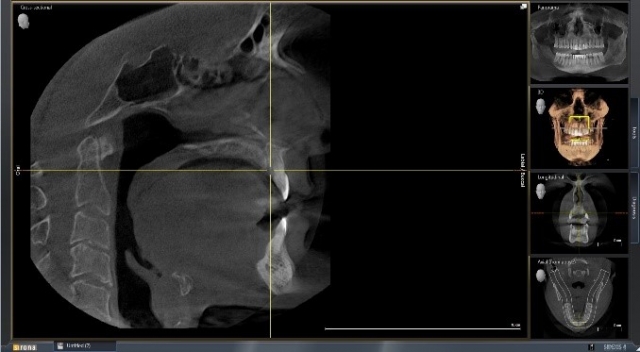
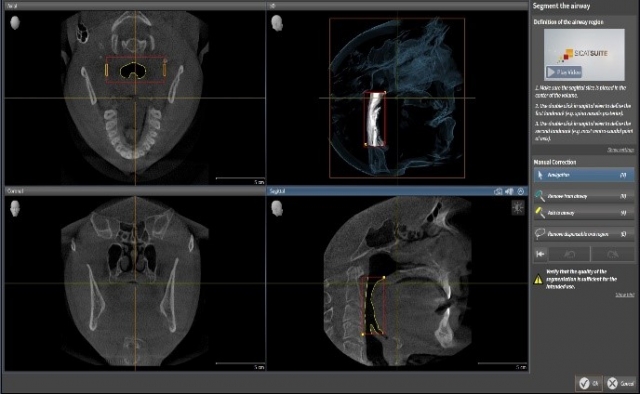
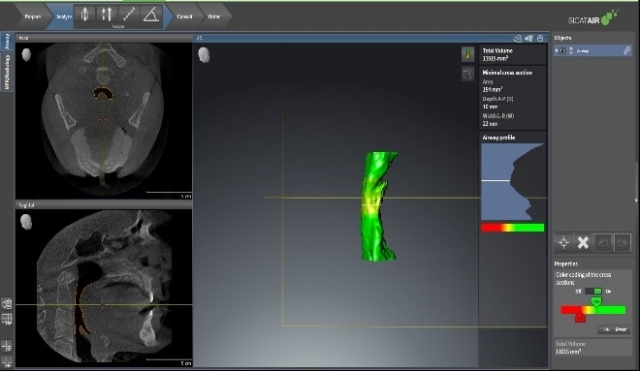
That entire digital file can then be uploaded and sent to fabricate an appliance, capturing the position of the mandible, while confirming the anticipated volume (yes, I know the patient is awake and sitting up. If you find a way to take a scan with the patient supine and asleep, it would be even better, right?) (Fig. 13)
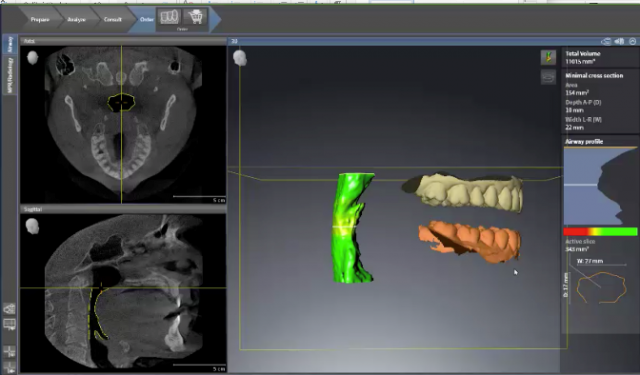
Anyway, I digress. I wanted to share how simple taking records for a MAD in the digital world can be. Keep it simple, s—– (my friend).
SPEAR campus
Hands-On Learning in Spear Workshops
With enhanced safety and sterilization measures in place, the Spear Campus is now reopened for hands-on clinical CE workshops. As you consider a trip to Scottsdale, please visit our campus page for more details, including information on instructors, CE curricula and dates that will work for your schedule.

By: Kevin Kwiecien
Date: July 22, 2017
Featured Digest articles
Insights and advice from Spear Faculty and industry experts
