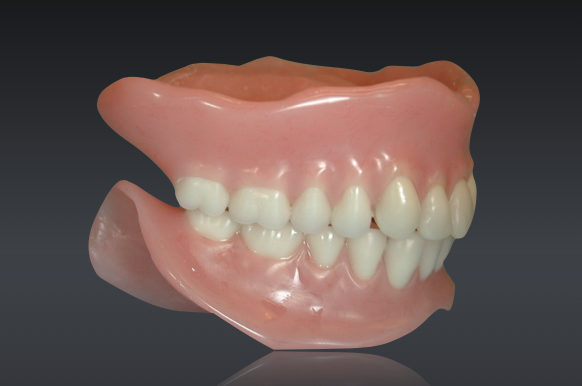
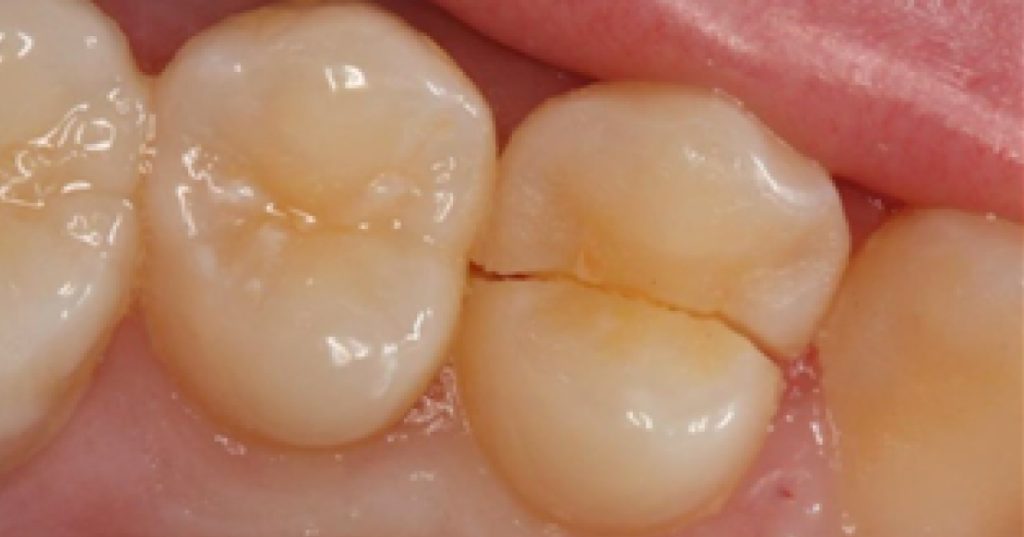
Conventional Complete Denture Fabrication in 9 Steps
Prior to the introduction of osseointegrated implants to dentistry, conventional complete removable dental prostheses were really the only treatment option available for completely edentulous patients.
Modern treatment options utilize dental implants, yet understanding the essential steps required for predictable conventional denture fabrication should aid clinicians seeking to transition patients to implant-retained prostheses. In addition, these steps should assist clinicians seeking to treat edentulous patients who are unwilling or unable to utilize implants.
(Click this link to read more about complete denture strategy.)
9 steps for conventional denture fabrication
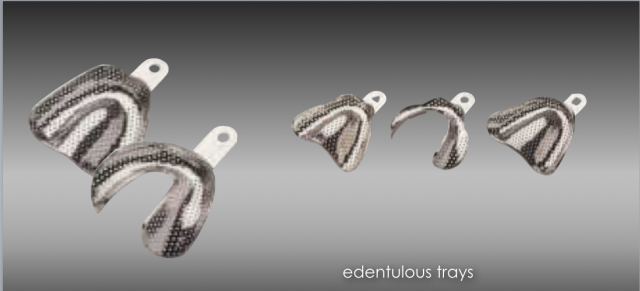
- Make preliminary impression using a stock tray specifically designed for edentulous patients and alginate. Tray periphery may be enhanced with wax.
- Fabricate preliminary cast and custom impression tray. This cast should be slightly over-extended in the periphery.
- Master impression using border molded custom tray with PVS or polyether. (Click here for a course on impressions for edentulous patients.)
- Send impression to laboratory for fabrication of master cast and record base/wax rim.
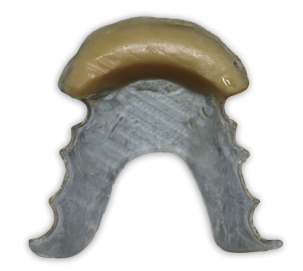
- Confirm fit and extension of record base. Contour wax rims for lip support, future incisal edge position, occlusal plane, occlusal vertical dimension and midline. Record facebow transfer and bite registration at correct vertical dimension. Select tooth mold, tooth shade and desired occlusal scheme.
- Return all items to laboratory. Lab will index and mount casts and develop trial denture set-up.
- Try-in initial denture set-up. Depending on clinician/technician preference this may be either an “esthetic try-in” of just the maxillary anterior teeth (requiring an additional try-in) or the full set-up. Evaluate for accuracy of mounting, occlusal vertical dimension, esthetics and phonetics. Perform modifications as necessary. Patient and clinician should be satisfied before moving to next step.
- Return all items to laboratory for prosthesis fabrication. Dentures should be remounted and equilibrated to compensate for errors in denture processing. Dentures should be returned finished and all external surfaces polished. Many clinicians will request clinical remount casts to be fabricated and returned with the case.
- Insert and adjust dentures and adjust as necessary. Typical post insertion follow-up includes 24-hour, one-week and one-month appointments. Determine an appropriate recall interval.
Successful patient outcomes with conventional complete dentures are possible. In order to achieve predictable success clinicians require technical skill, competent laboratory support and patient trust. The essential steps outlined here should help clinicians increase the predictability of their conventional removable prosthetic treatments.
Douglas G. Benting, D.D.S., M.S., F.A.C.P. is a member of Spear Resident Faculty.
References
Zitzmann NU, Marinello CP. Treatment plan for restoring the edentulous maxilla with implant-supported restorations: Removable overdenture versus fixed partial design. J Prosthet Dent 1999;82:188-96.
Zarb GA, Hobkirk JA, Eckert SE, Jacob RF et al. Prosthodontic treatment for edentulous patients: Complete dentures and impant-supported prostheses. 13th ed. St. Louis: Mosby; 2013.
Sadowsky SJ. The role of complete denture principles in implant prosthodontics J Calif Dent Assoc 2003;13:905-909.
VIRTUAL SEMINARS
The Campus CE Experience
– Online, Anywhere
Spear Virtual Seminars give you versatility to refine your clinical skills following the same lessons that you would at the Spear Campus in Scottsdale — but from anywhere, as a safe online alternative to large-attendance campus events. Ask an advisor how your practice can take advantage of this new CE option.

By: Darin Dichter
Date: October 21, 2015
Featured Digest articles
Insights and advice from Spear Faculty and industry experts
