9 Steps to a Facebow Transfer
As my 20th year in private practice comes to a close, I reflect on the journey that it has become — one that I had no vision for until about the seventh year out of residency. So many aspects have changed (thankfully): my methods, materials, thinking and planning, etc.
As soon as the ink could dry on all of the hospital bureaucracy, I wanted to give back and donate my services to the residency program I was so fortunate to enjoy. As an attending, and as I got a little — and I mean a little — more seasoned, I realized that the four years of formal dental school education was just an introduction to what may lie ahead. There were, and still are, so many different avenues of proficiency to explore.
In dental school, we learn so much but we know so little. We can all remember the pride of having navigated through the daunting and rigorous requirements of the medical school basic sciences on top of the dental school curriculum. And then we get released into some aspect of the dental universe and we realize how challenging diagnosis, treatment planning, and treatment sequencing can be. Further, many private practitioners — at least in the Northeast corridor of the U.S. — sometimes tell residents and newbie private practitioners, “Congratulations! Now that you have graduated and spent all of that money, try to forget all that you learned within those four years.”
I admit that I may have even paraphrased something like that as a teacher. Of course, I and likely anyone who has stated this does not mean this entirely; it is a bit of hyperbole. I often phrase it something more like, “Dental school is but about 1% of your formal dental education; spend the rest of your career pursuing the other 99.” A fledgling dentist must understand there is so much more to consider than just the school’s methods and systems of diagnosis and treatment.
(Click this link for more on teaching dental students the truth about being a dentist.)
Case in point: There is a dental school in the Northeast that does not allow the use of an explorer to examine the surfaces of occlusal pits and fissures to determine with tactility whether caries may be present within occlusal pits and fissures. It is taught that it may cause insult to the surface, open an area, and cause caries. This is not hyperbole.
Being that I practice in the Northeast, I heard of this but never believed the comments until I was able to corroborate its veracity from residents from that school whom I have taught over a period of time. Imagine having the habit of not using the explorer for its intended use! It is my belief some things we learn should be taken out of our tool boxes and replaced with more sound science. Another may be the use of Dycal, replacing it with a product such as Vitrebond or Calcimol. Do any of you remember Copalite? Enough said.
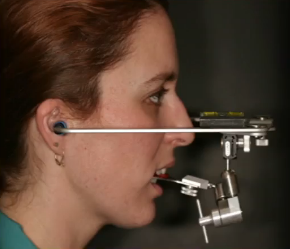
Along the same lines is the facebow transfer. Over the years, I received an abundance of curiosity and negativity on its purpose. So many of the young dentists I encountered over the past 15 years say they know the theory, used them in prosthodontic lab exercises, but rarely used them in school. (Again, only an East Coast school sampling.) Fast-forward through the years, and I receive the same responses from seasoned dentists who are quite proficient and well received. We are not talking about a fly-by-night material or trending your office into a dental spa; this is about a simple and beautifully accurate record in which one can depict where the maxilla sits relative to the hinge axis point and the skull.
So what is it, then, that a simple record that you can delegate to your staff is deemed so unimportant or bothersome, or just a waste of time when planning or even thinking through a case? I have thought about this for some time. It is my belief that it truly depends on where the information comes from, what one thinks of the source of the information, and how it is delivered and understood. It is also dependent on who is hearing and disseminating the information (what you know as true and working up to this point) and where they are in their careers.
I was one of those fledgling dentists who did not understand the gravity of the facebow transfer until I got involved in some significant treatment planning. I heard the theory, used it piecemeal in school, never used it in my residency program, and was hired as an associate by someone who was quite similar, without fault, to so many general practitioners who did not use a facebow. (The practice was highly centered on cosmetics.) A young dentist is so concerned, and rightfully so, with just getting accustomed to making decisions, diagnosing and treating on a needs-only or tooth-to-tooth basis. If they don’t have the habits, they may be less likely to introduce something else in this phase of their career. Compound that with having to use a semiadjustable articulator. Simple hinge articulators are prevalent and may work perfectly fine, just not all of the time. All of our patients do not walk around with their maxillae perpendicular to the earth; at least mine do not.
So let’s dive further into the world of facebows.
(Click this link to learn more about the purpose of a facebow.)
How a facebow can help you
- Esthetic cases: Placing the maxillary cast in its proper orientation
- Is there a cant?
- Is there a steep maxillary angle?
- How does the lab tech wax the preps if you’re changing the length and incisal edges?
- Wear cases: Where is the maxilla relative the hinge axis of the mandible?
- How would you transfer a case of pathway wear to your lab?
- How would you make a single crown well on a second molar with retrusive wear (centric relation wear, troughed out mortar and pestle wear)?
- Any case: All maxillae are not in the same spot
- Patients break teeth, right?
- Patients break our new crowns, right?
- Patients get headaches, right?
- Patients have clicking joints, right?
- Mounted models afforded by a facebow might help, right?
Honestly, if you were to just mount models on 10 different patients and look at the orientation of the maxillae relative to each other on the articulator, I think you’d fully understand my plight. They’re all over the place: anterior, posterior, tilted, slanted. … You get the picture.
Materials for taking a facebow transfer
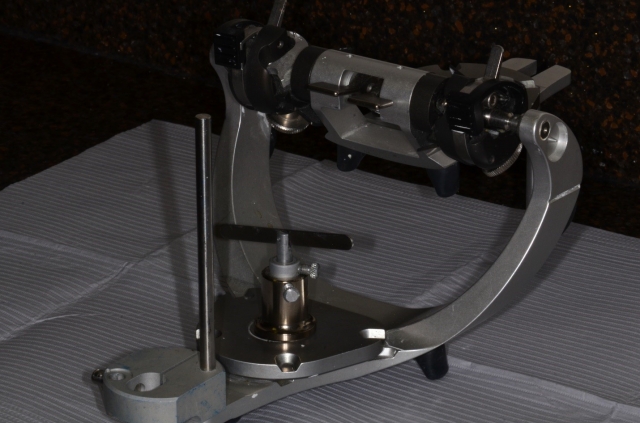
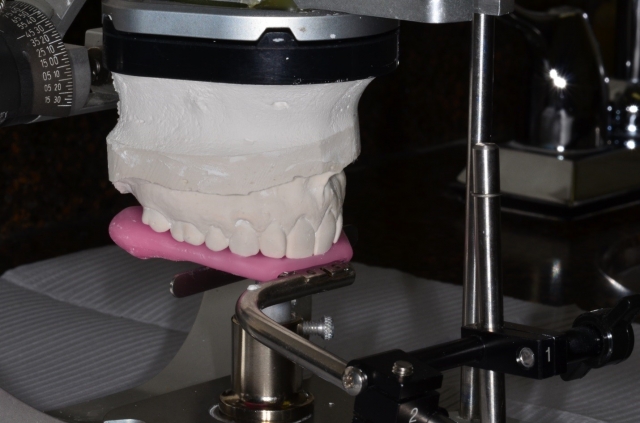
The following information is but one dentist’s angle (pun intended), solely based on comfort and habits and early training. I use a Denar/Waterpik Slidematic Facebow and mount the models on a KaVo articulator (Protar EVO5B). Before that, I used a Denar D5A that I bought on eBay. And before that, I just looked at my Hanau articulator in its box.
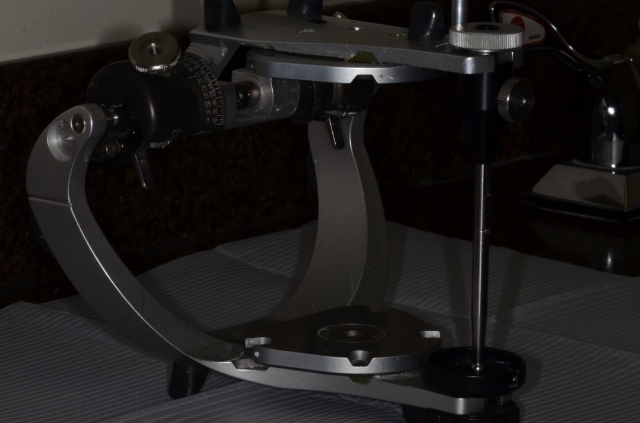
The facebow procedure establishes the relationship of the maxillary dentition to:
- the hinge axis point, afforded by the earbow using the external auditory meatus.
- the horizontal reference plane; a built-in reference pointer aligns the bow.
A built-in sight can be used to view the anterior reference point.
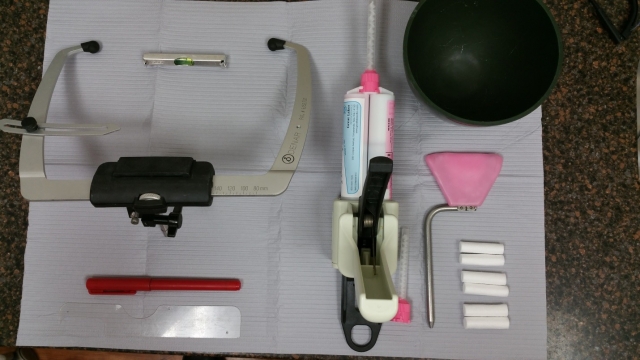
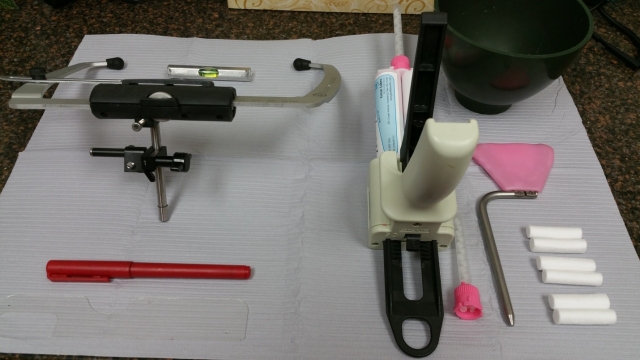
The Slidebow is great because it may be used with the following articulators:
- Denar, all types
- SAM
- Whipmix
- KaVo (may require a transfer jig for use)
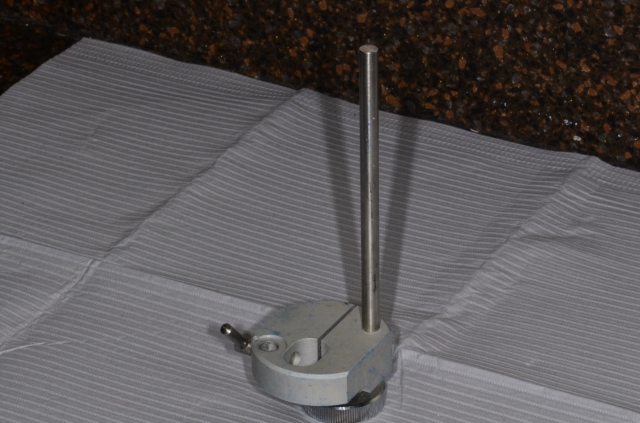
Using a facebow, step by step
Step 1
Attach the vertical shaft (numbers right side up) to the earbow and tighten. Make certain the screws marked 1 and 2 are loose and mobile so they may easily attach to the bite fork and allow midline marking later on. Also, make sure the center tightening wheel on the earbow is loose so it may slide in and out. (Depending on the height of the patient relative to your height, they should be standing up or sitting in a chair straight.)
Step 2
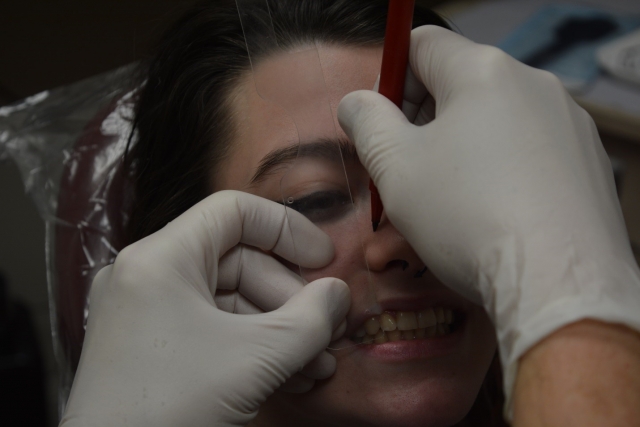
Make a mark for the anterior reference point on the patient’s right side of their face, 43 mm from the incisal edge of #7 or #8.
Step 3
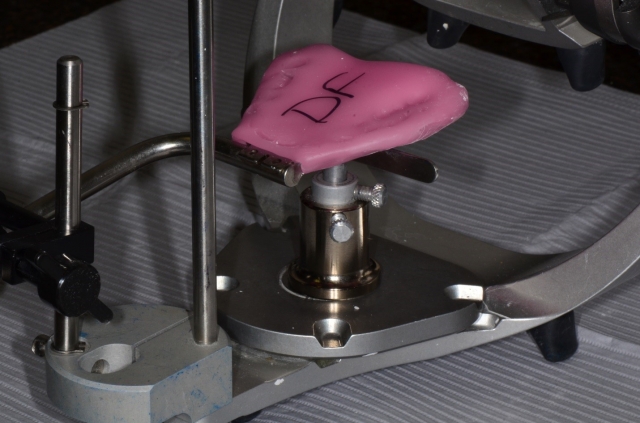
After covering the bite fork with double-thick baseplate wax, warm it and place it under the maxilla, aligning their midline with the notch on the front-middle of the fork. Press to engage the maxillary cusps

Step 4
While holding the engaged fork in place, slip two cotton rolls on each side between the fork and approximately the lower premolar. (This may vary per patient.) Have the patient bite on the rolls to stabilize the waxed bite fork.
Step 5
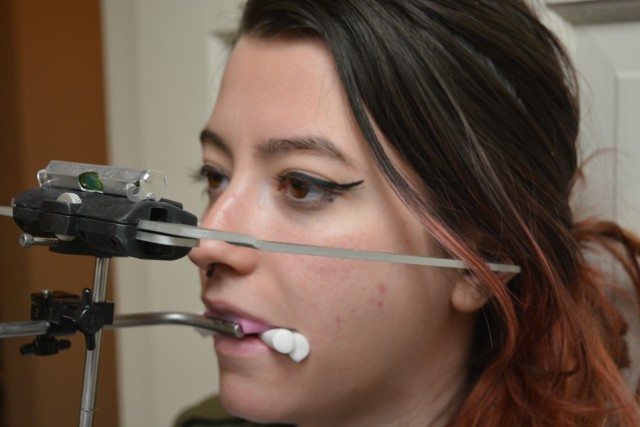
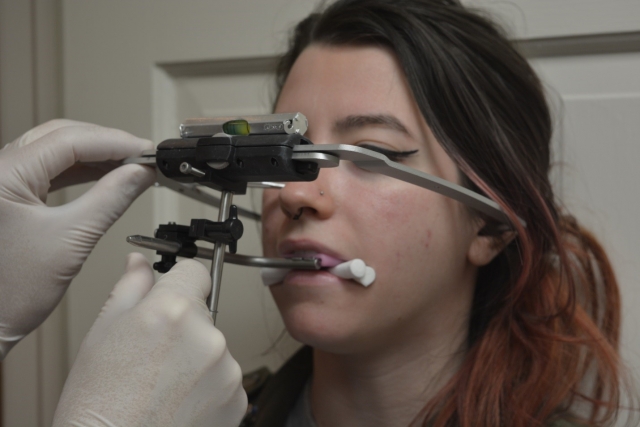
Take the earbow and vertical shaft together and attach it to the bite fork through the #2 finger screw. Then, have the patient help you place the earbow in their ears, having them hold it in place so you may level it, and at the reference point you marked on the patient’s right side of face, even with the pointer. Tighten screw #1.

Step 6
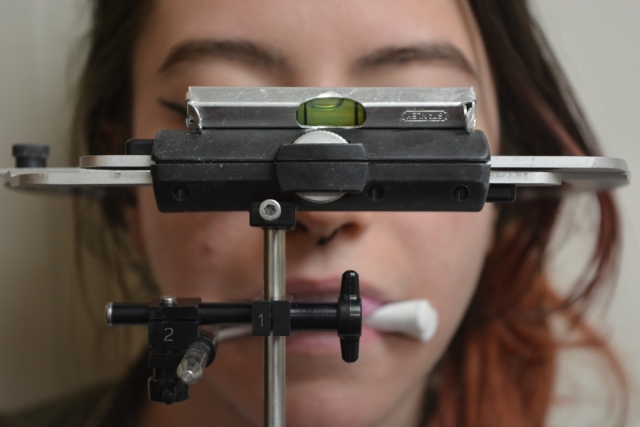
Because ears are not always even on humans, and because anyone can accidentally induce a cant during this procedure, place a small liquid level (which can be found in any hardware store for a few dollars) on top of the bow, allowing the bubble to center. Tighten screw #2.

Step 7
Verify the bow in the ears, the reference point even with the pointer, and a centered bubble inside the level, then open the earbow. Hold the vertical shaft and have the patient open to remove the facebow complex.
Step 8
Game, set, match!
Step 9
Separate the earbow from the shaft and place the shaft/bite fork in a safe place or onto your readied articulator. (That’s another article for another time.)
Quick aside: Since joining Spear Education in early 2009 to present day-of mentoring at the Occlusion in Clinical Practice workshops, I have come to love the simplicity of the Sam facebow and articulator system. I still do not own one, but find it equally seamless to incorporate into your practice.
So there it is. It may be simple, efficient, and predictable, but that doesn’t mean much if you don’t understand its importance.
If you’re reading this, are passionate about what you do, and are involved in advanced dental education, please remember that many other dentists could use your leadership. Mentor a dentist and help them with good habits! Make yourself available in some small way to the dental community — start a Spear Study Club! — and share the knowledge you enjoy and use every day in your practice.
SPEAR campus
Hands-On Learning in Spear Workshops
With enhanced safety and sterilization measures in place, the Spear Campus is now reopened for hands-on clinical CE workshops. As you consider a trip to Scottsdale, please visit our campus page for more details, including information on instructors, CE curricula and dates that will work for your schedule.

By: Dave St. Ledger
Date: February 23, 2016
Featured Digest articles
Insights and advice from Spear Faculty and industry experts
